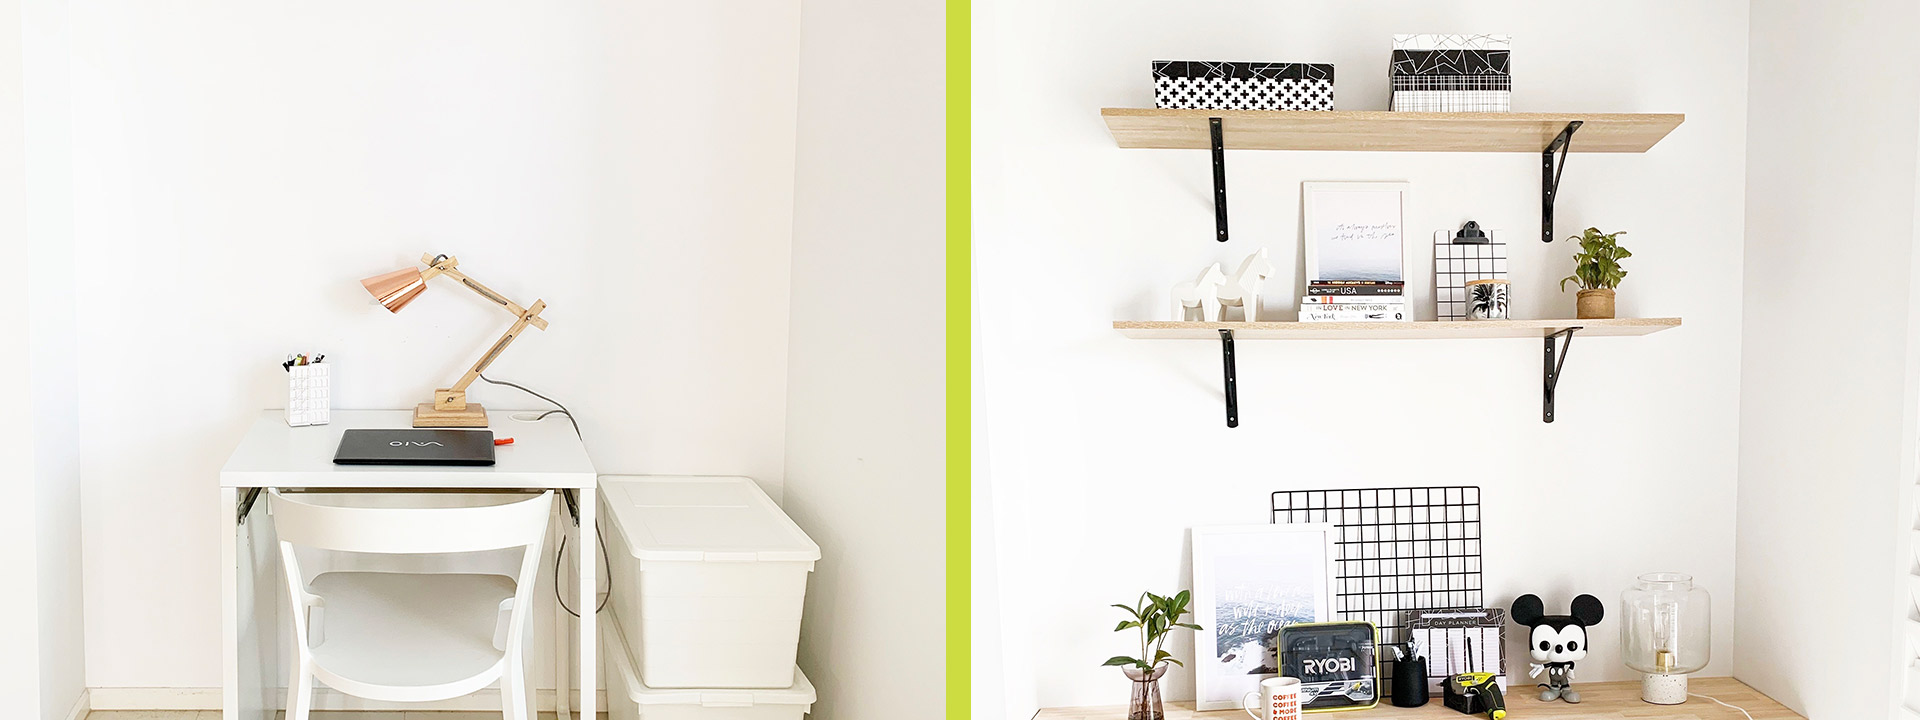
STUDY NOOK
As many of us are spending more time working from home, it’s great to have a space to work or study in. Kim shares how she created a great, functional Study Nook that took only hours to complete.
Where did you get your inspiration from?
We did our research by following ‘home styling’ accounts on Instagram and searching ‘Study Nook’ on the internet and #studynook on Instagram. Also, I love to pick up the free Bunnings magazine whenever I’m in store and keep them for inspiration.
How long did it take to complete?
It took the two of us only a few hours to complete. We knew exactly how we wanted it to look and had all the measurements ready before we started putting it all together.
What skill level will I need to complete it?
We are DIY beginners. Honestly, if we can do it then anyone can. We have never renovated or attempted any other major projects around the home, other than painting, putting up shelves and assembling flat pack furniture. Actually, some flat packs have been harder than this!
![]()
![]()
What was your budget?
We didn’t want to spend too much on this project, so we were aiming for a maximum of $700. We came in under this at $500, which included materials and tools.
What materials did you use?
- Spec Rite Hevea panel (desktop)
- Pine DAR x 2 (timber for wall bracket for floating shelf)
- Straight stayed bracket (black) x 4
- Flexi storage oak shelf x 2
- Hollow wall anchors (for use in gyprock)
- Wall mate fixings with screws
- Sheet metal screws
You could use another timber panel for the desktop but just make sure it’s not too heavy if using it for a floating style desk and not too thin, otherwise it may bend. You could also use different shelves and brackets. Bunnings has a huge range to choose from.
What tools did you use?
- RYOBI ONE+ Drill Driver
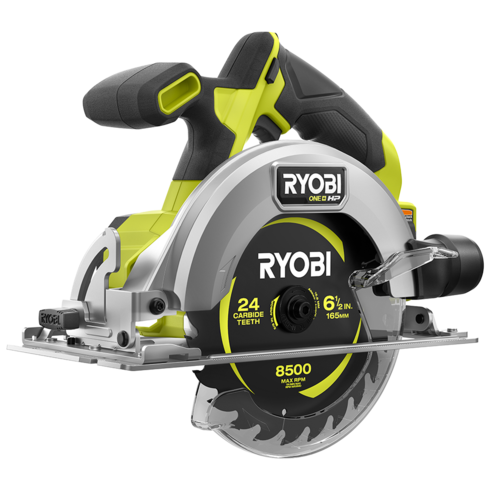
- RYOBI ONE+ Circular Saw
- tape measure
- level
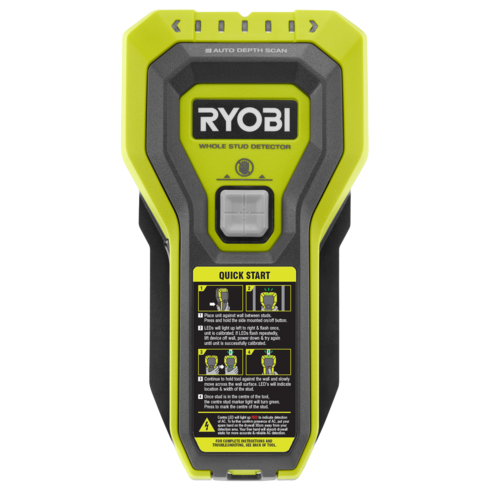
- Stud Finder
What was the toughest part of the project where extra care or attention to detail was required?
The toughest part was installing the floating desk. We had to make a few cuts in the timber to make a bracket and also the timber desk top using the circular saw, so they needed to be accurate otherwise it wouldn’t fit snuggly in the space. We also needed to make sure that we were screwing it into the timber studs in the wall to make sure the desk would be sturdy. The other important aspect was making sure the desk was level!
What would be the easiest way to modify your design to suit my space (can I make it bigger, smaller, easier, cheaper, textures, colours, materials) – if appropriate?
You could easily modify this design. The shelves could be changed to white, for example (we used oak) and you could choose different brackets for the shelves, including different styles and colours to suit your style. You could make the shelves whatever length you space allows. We had to cut our desk down to size as the original size of the piece of timber was too big, but we liked the grain. You could also paint or stain the desk.
What are you looking forward to tackling next?
We would like to work on an outdoors project soon, something like a herb and vegetable garden in portable timber garden boxes. I’ve always wanted my own edible garden to use when I’m cooking, and I think the kids will love it too.
Featured Products
-
star_outlineAdd to My Wishlist18V ONE+ Drill Driver - Tool OnlyRDD18★ ★ ★ ★ ★ ★ ★ ★ ★ ★ (3)
$99
-
star_outlineAdd to My Wishlist18V ONE+ HP™ BRUSHLESS 165MM COMPACT CIRCULAR SAW – TOOL ONLYRCS18C★ ★ ★ ★ ★ ★ ★ ★ ★ ★ (27)
$258
-
star_outlineAdd to My WishlistStud Finder with AC DetectionRYSF5003★ ★ ★ ★ ★ ★ ★ ★ ★ ★ (76)
$65