HOW TO ORGANISE YOUR DIY OR CRAFT SPACE
By Barry Du Bois
Get in the habit …
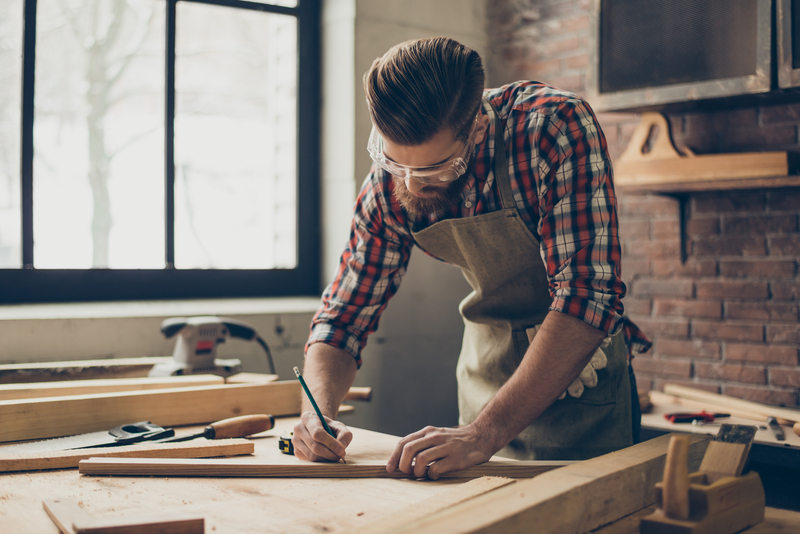
If you’re like me, you’ve probably started about 50 different hobbies in the past year or so. I’m an avid DIYer and always love designing and creating little projects. The problem is, at the moment, I’ve got about 30 half-finished projects lying around. Hence, storage and finding a clean space to work is really challenging. In my first year as an apprentice carpenter I learnt that to keep my boss happy I had to make sure every piece of timber was stacked neatly and every extension cord rolled up. The ute was packed like a game of Tetris every night. At first it was a real pain, but once I knew where everything went, it made them so much quicker to find. When it comes to your DIY or craft passion, whether you set up in the garden shed, a space in the laundry, a spare room or a 4-car garage, there are a couple of things you always want to have right.
Floor level
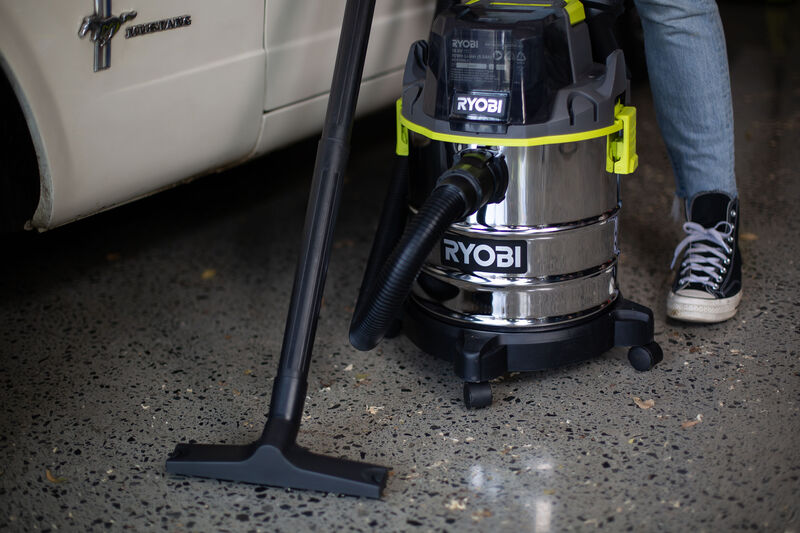
I want to start at floor level and work my way up. Depending on what sort of hobby you are into will make a big difference to the floor surface you’re going to work on. I would recommend looking at something that is easy to maintain – that will allow spills to be cleaned up, including glue, paint, oil and water. So, often carpet is not ideal. Sawdust and metal filings, nuts and bolts are much easier to capture on a hard floor, too. Mats or interlocking tiles can be changed when they are worn out or damaged.
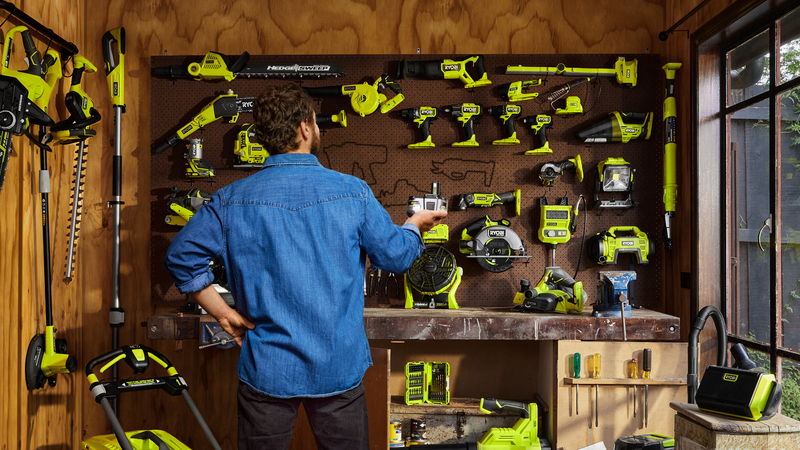
Workspace
Next, get a sturdy work bench, one with an appropriate surface area for what you’re undertaking. ‘Sturdy’ is the key word. And make sure it’s easy to wipe clean, too. Then, think of utilising vertical spaces, that way you keep the floor space clear of clutter and you’ll have more room to move around safely (again, it will make cleaning up after easier with few obstacles to get in the way. The space above your workbench, desk or table is the best place to store the tools you’re working with and the most common materials you use. This is perhaps easier with craft hobbies than woodworking, but you’ll soon realise what you reach for most often, so store them close by.
Avoid drawers
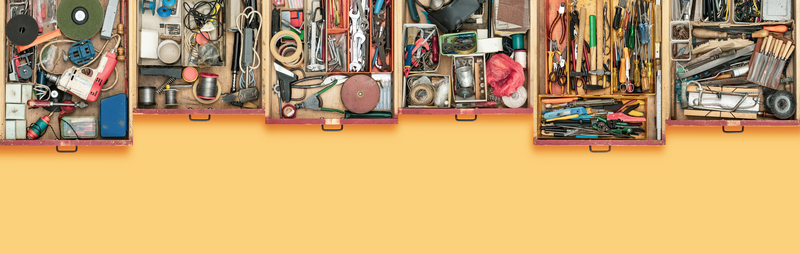
Another tip: Drawers are where things (tools, materials, ideas) go to die! Use open shelving, clear storage bins, well labelled and a pegboard to store tools, etc. And use a marker to trace around your tools on your pegboard. That way you’ll know where to hang them after use and also if anything is missing.
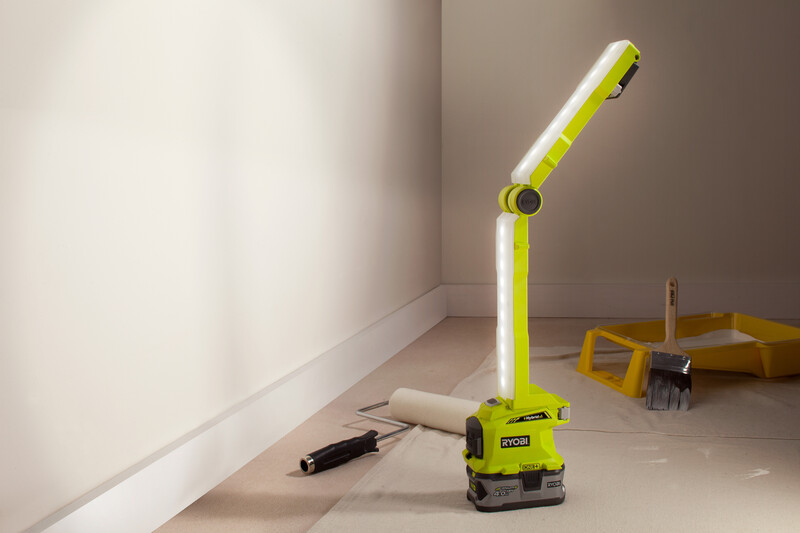
Light the way
Lastly, for this article, get yourself some good portable lighting. It will make your tasks safer and more relaxing being able to see clearly and clean up properly when you’re finished, ready for your next step or project.