


.png?w=100&v=d5f9955a-145e-481e-8081-5ddf4d74c7cc&itok=hKuNtBOw)


.png?w=100&v=2695a42f-b099-4e31-bdbd-c1b445ff88c0&itok=Md9-7E8t)


%20(2).png?w=100&v=a9b7928b-cece-4e51-b913-62ae316129a9&itok=fEHREjki)
_ANZ-Group-shot_v2.png?w=100&v=f3a4afac-70ac-4758-8474-ff17fe163b1c&itok=Z_Qi2FlQ)
_ANZ-Group-shot.png?w=100&v=72a4a24c-7670-47f7-a68e-edeaafa41c8d&itok=k25pq8iJ)
_ANZ-Group-shots.png?w=100&v=4d5e1cd2-60a9-45da-bcfb-1b8500ccaea9&itok=v6A67Pxg)


Drill into timber, soft metal and hard materials including brick and concrete with the RYOBI 18V ONE+ Hammer Drill.

If you want to rid your home of clutter, check out the RYOBI LINK™ Modular Storage Solution.
RYOBI LINK™ is a modular storage system comprising uniquely designed wall rails and a plethora of accessories – hooks, hangers, tubs and tool holders that click and lock securely onto the wall rails.
Part of the beauty of the system is all the accessories can be moved around to suit your layout. Only the rails remain permanently in place.
Each rail, when attached to the wall as per the guidelines (see owner’s manual, installation video or installation article) can hold up to 94kg – that’s some serious holding power.
And it’s not restricted to just holding tools (though it’s great for that).
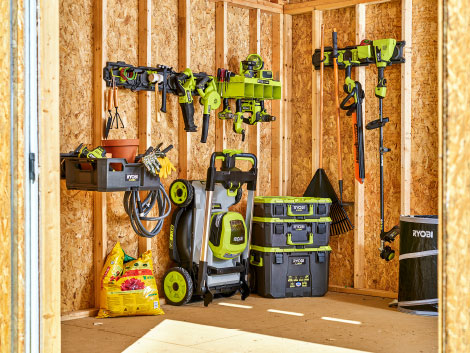
In the shed, LINK™ can store garden equipment, like rakes, shovels, hoses, blowers, trimmers and ladders.
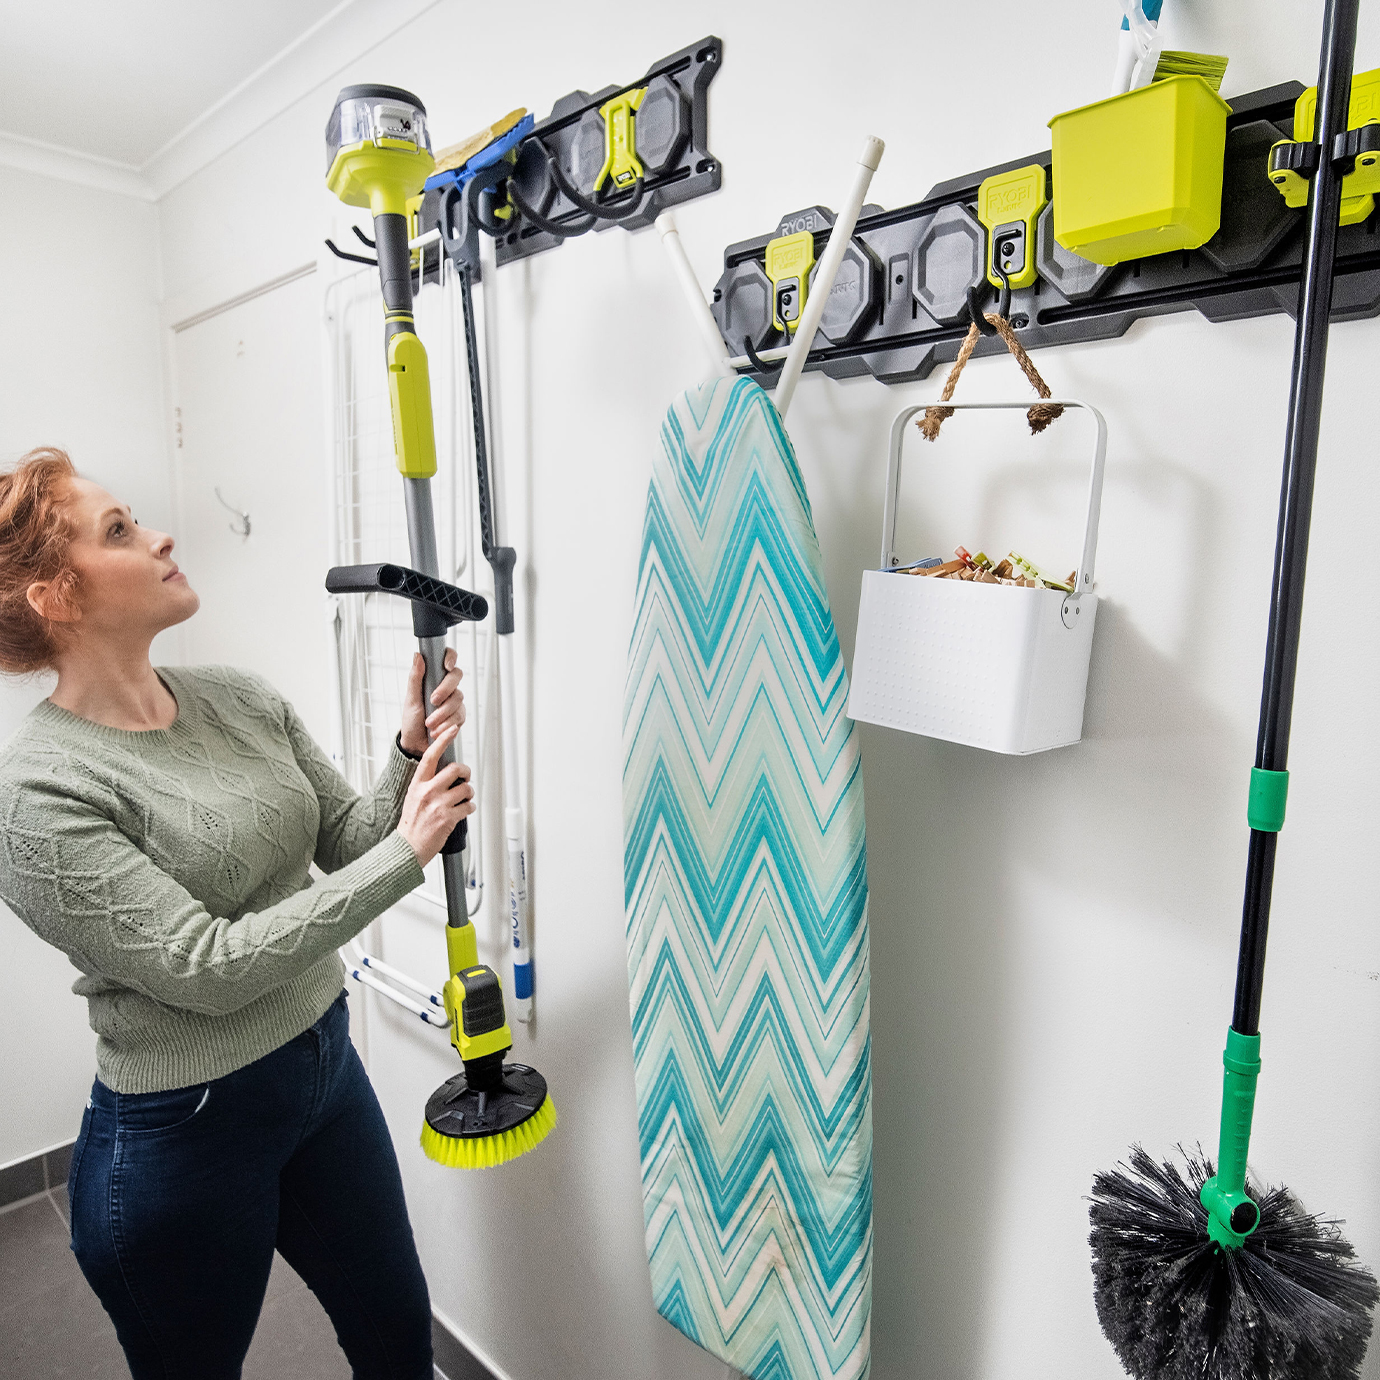
In the laundry, use LINK™ to store brooms, mops, brushes, buckets, vacuum cleaners, and more.
In the garage, find a place to hang power tools and hand tools, bikes and sporting goods, camping equipment, pool toys, Christmas decorations, odds and ends … you name it.
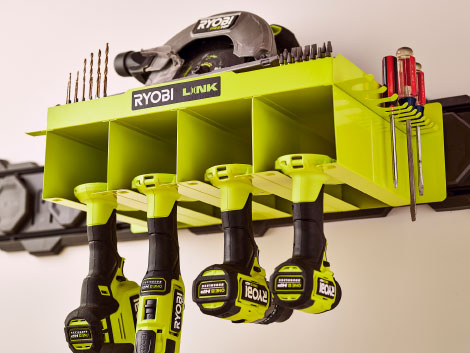
There are a wide variety of tool holders and miscellaneous hangers that you can adapt to your needs – and more products are being released regularly.
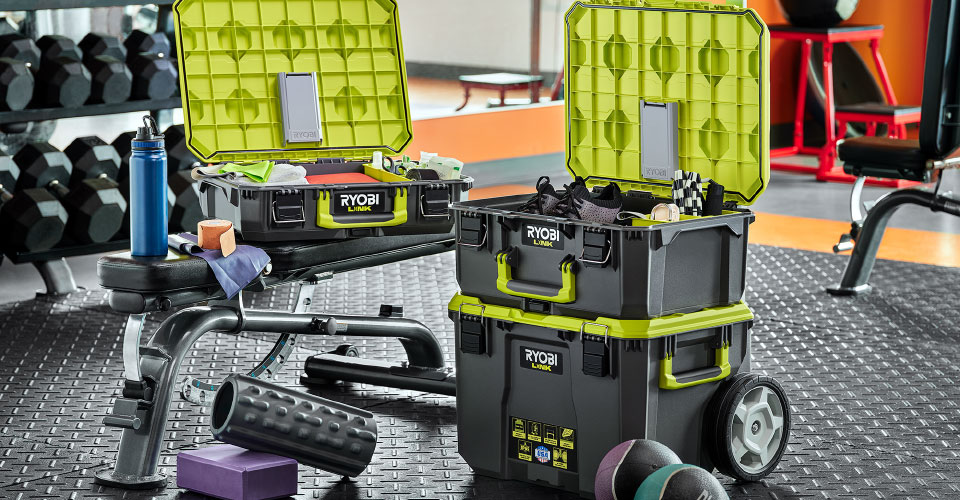
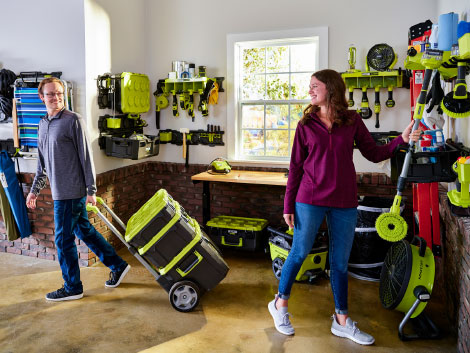
RYOBI LINK™ also has a great range of rolling storage options that enable users to organise, store and transport their tools and equipment, camping gear, arts and crafts – you name it. Rolling storage items include carts, crates, clear-top organisers, and more. Many items also fit onto the Wall Rails for optimum storage solutions.
One thing for certain – the design won’t change so your LINK™ system – whether on the wall or on wheels - can continue to grow with your demands.
Regain your floor space – and your sanity – with RYOBI LINK™ Modular Storage.
Available at Bunnings.
.png?w=100&v=6c04e2a3-04b9-449c-97a0-86f8df82dcb1&itok=D7d8Umfz)

.png?w=100&v=07272864-2df4-45f0-aa93-568aa3920466&itok=Lj7SSICT)

.png?w=100&v=4297d0f7-8d6a-4632-bff2-7c593a97d3cb&itok=fnsLcLhG)


.png?w=100&v=6fe76245-ac4a-4aa3-986d-04347f143028&itok=dFif4A99)


.png?w=100&v=5053a26b-c336-46d9-b44e-ab91738f07c9&itok=efvsqCNL)


.png?crop=yes&k=c&w=690&h=690&v=ced7b8a8-2afa-4da5-b0a4-46b6255ddffb&itok=Sdr7ndVS)


.png?crop=yes&k=c&w=690&h=690&v=be55c22d-2ef4-4905-ba75-148b80624783&itok=vMyflL6y)

.png?crop=yes&k=c&w=690&h=690&v=2695a42f-b099-4e31-bdbd-c1b445ff88c0&itok=oSa1jeM8)


.png?crop=yes&k=c&w=690&h=690&v=13f3811e-8818-4020-946f-0e6dc1c82159&itok=rF5cJvIh)


