


.png?w=100&v=d5f9955a-145e-481e-8081-5ddf4d74c7cc&itok=hKuNtBOw)


.png?w=100&v=2695a42f-b099-4e31-bdbd-c1b445ff88c0&itok=Md9-7E8t)


%20(2).png?w=100&v=a9b7928b-cece-4e51-b913-62ae316129a9&itok=fEHREjki)
_ANZ-Group-shot_v2.png?w=100&v=f3a4afac-70ac-4758-8474-ff17fe163b1c&itok=Z_Qi2FlQ)
_ANZ-Group-shot.png?w=100&v=72a4a24c-7670-47f7-a68e-edeaafa41c8d&itok=k25pq8iJ)
_ANZ-Group-shots.png?w=100&v=4d5e1cd2-60a9-45da-bcfb-1b8500ccaea9&itok=v6A67Pxg)


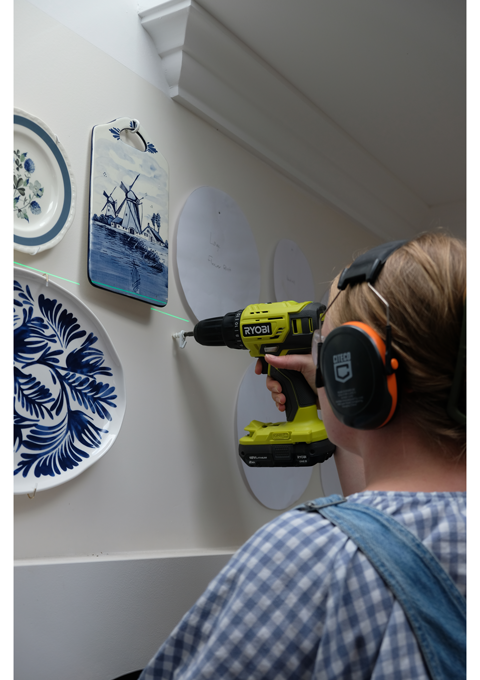
Drill into timber, soft metal and hard materials including brick and concrete with the RYOBI 18V ONE+ Hammer Drill.

Do you have a blank space on a wall that needs filling? Maybe it’s an unusual size or position? Here’s an idea that’s bound to add a bit of character to a blank canvas. Follow step-by-step instructions by Brooke Styles to get started.
Extend the Universal Laser Pole from the floor to ceiling, securing firmly. Attach the 15M Green Cross Line Laser to the pole and ensure the pole is set up in a location out of the way but close enough so the green laser lines are clearly visible.
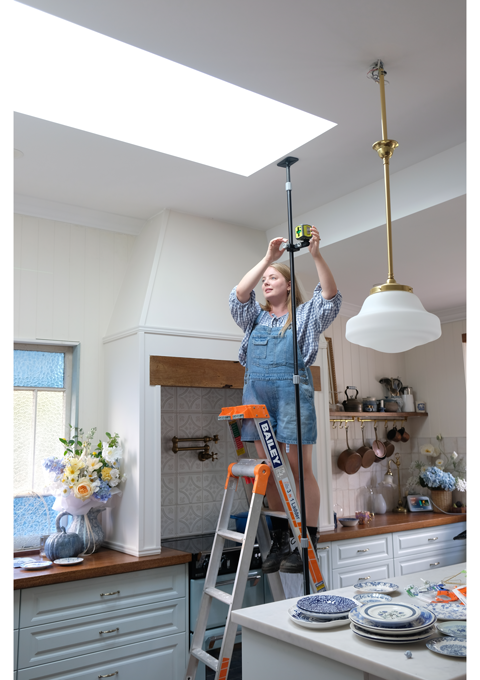
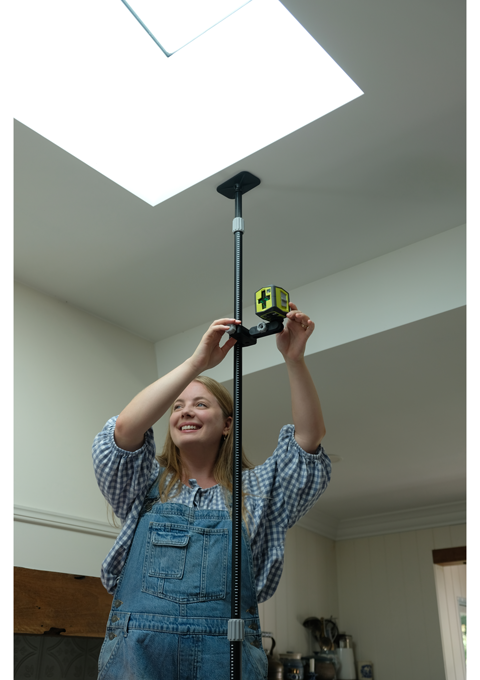
Measure the centre of the wall (or space) vertically and horizontally and position the lasers ‘cross hairs’ at that centre point for a guideline while planning and hanging the plates.
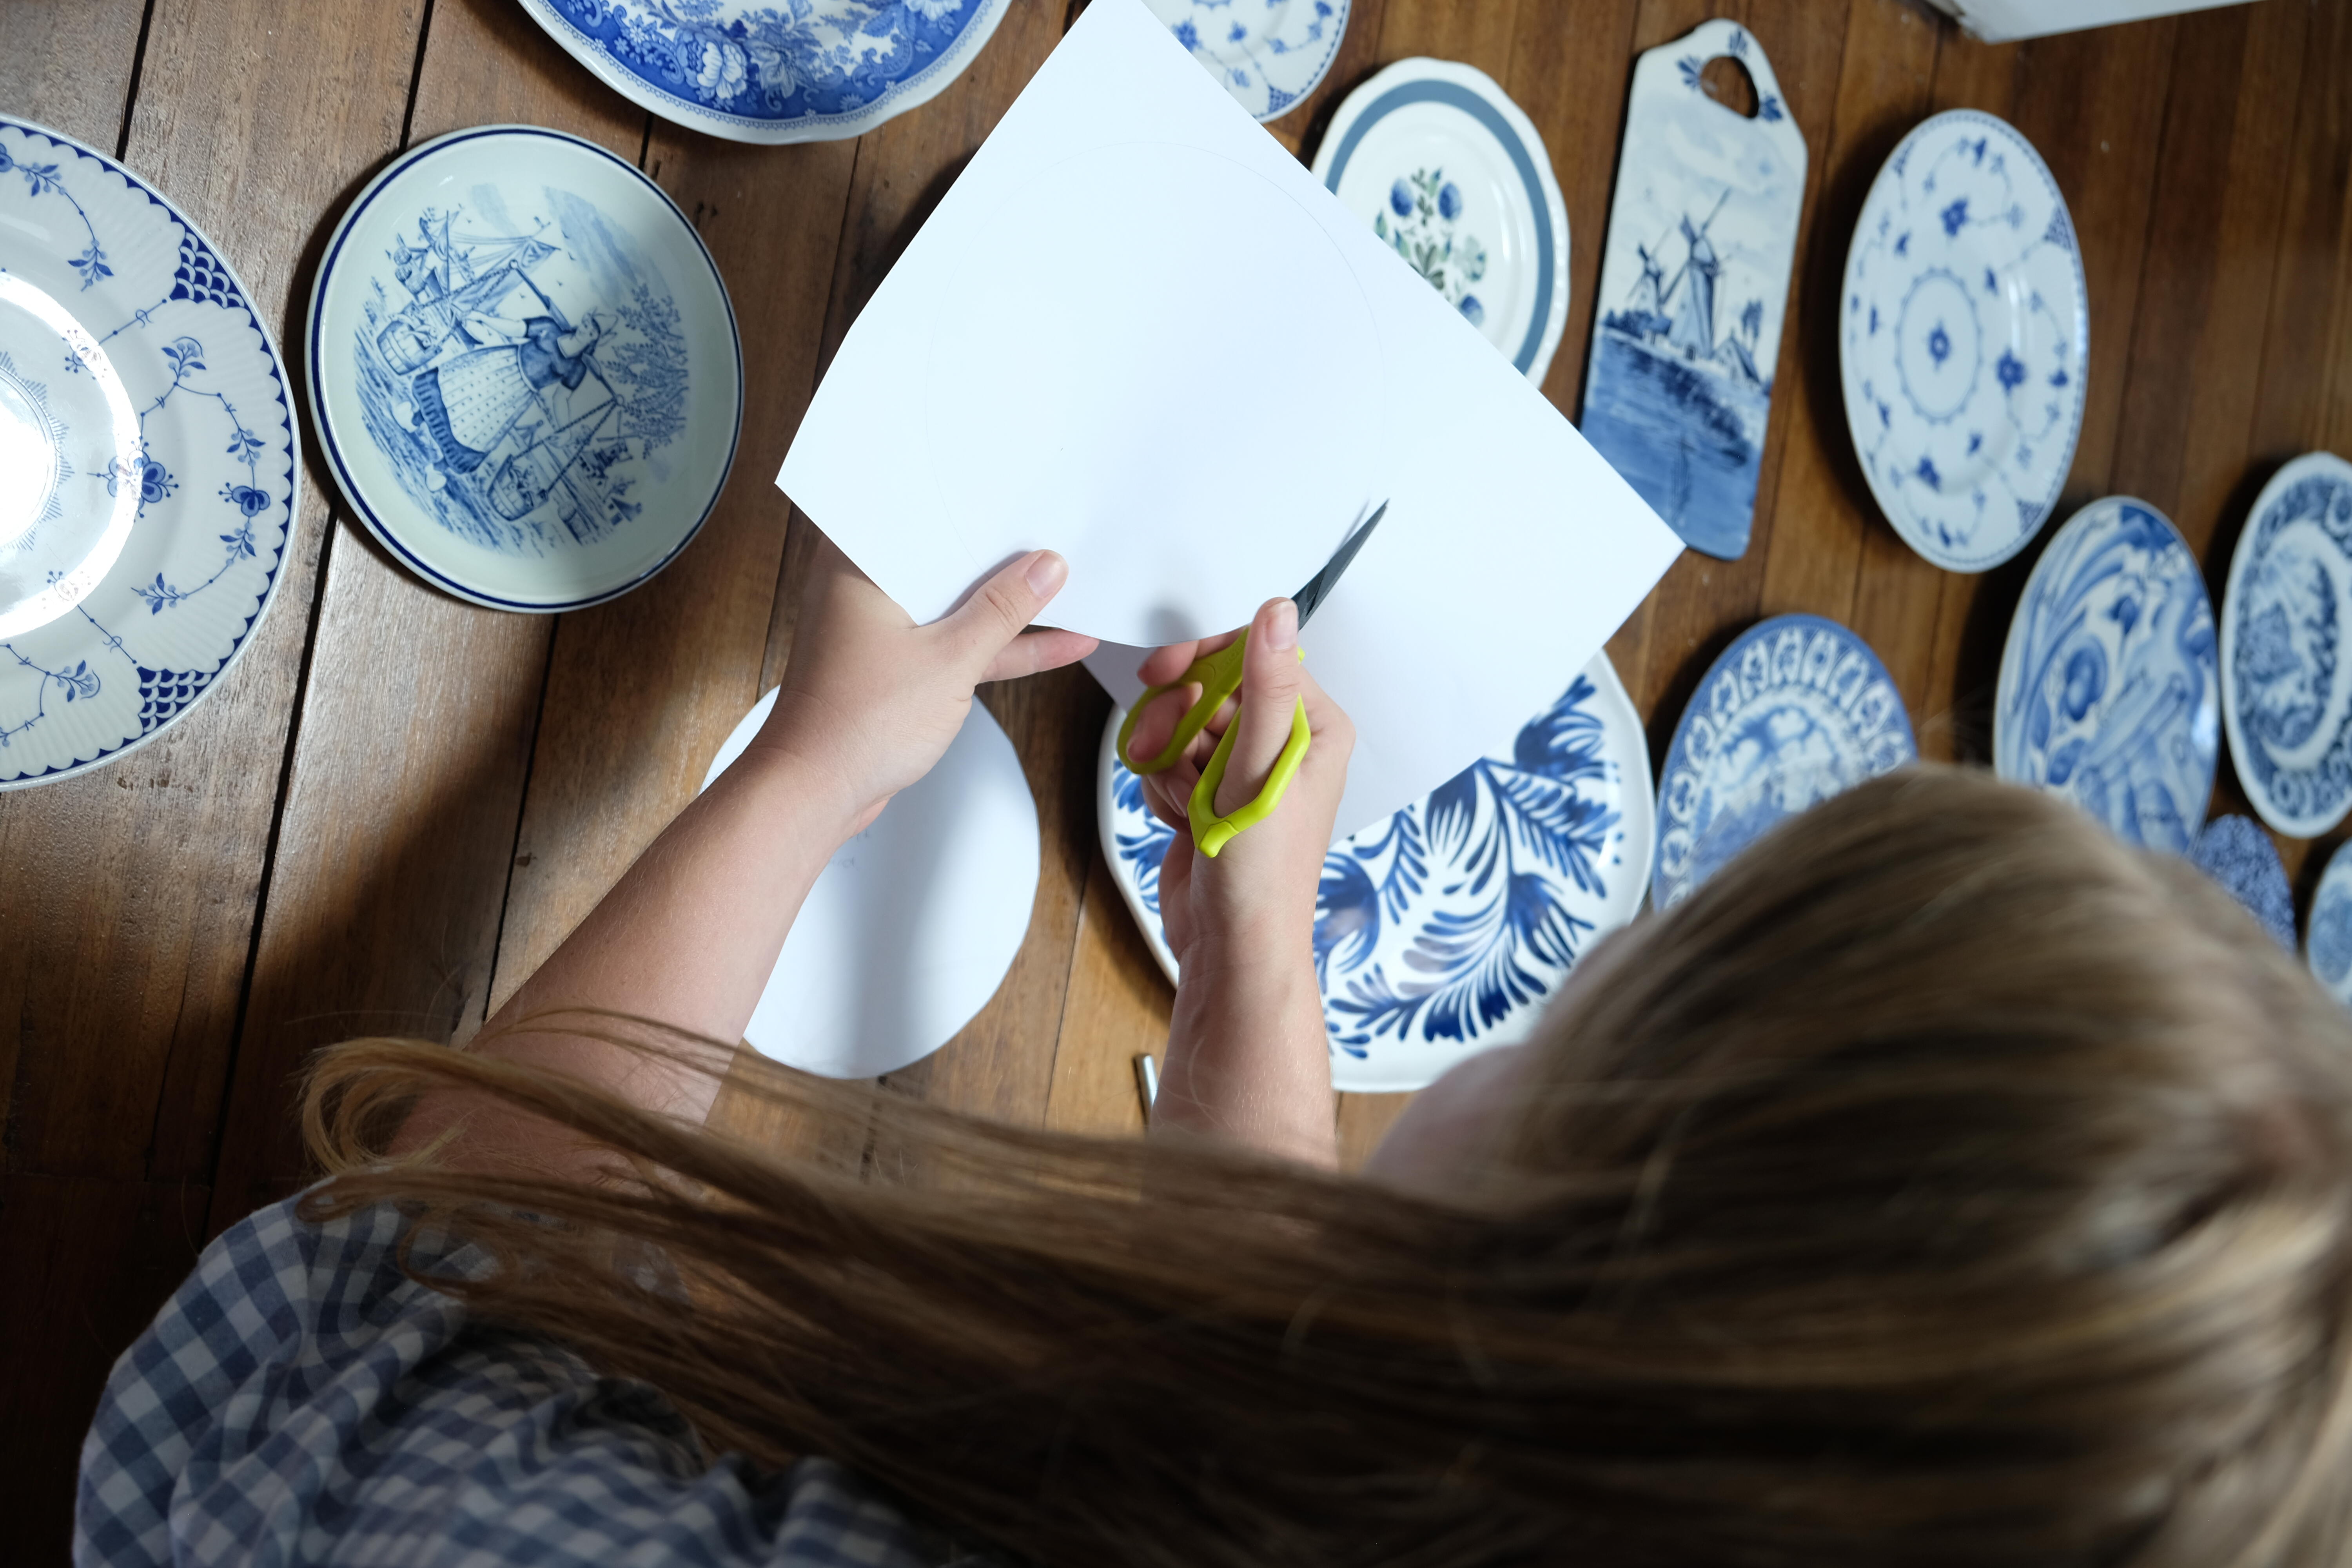
Find a flat surface large enough to lay out your plates in your desired pattern to make sure you are happy with that layout and spacing of the plates. Attach the plate wires to each plate.

Once the plates are laid out on a flat surface, trace each one so that you have templates, numbering or naming each one as you go so you know where to position it on the wall (we took a picture for visual reference). Mark where the screw and hook will go.
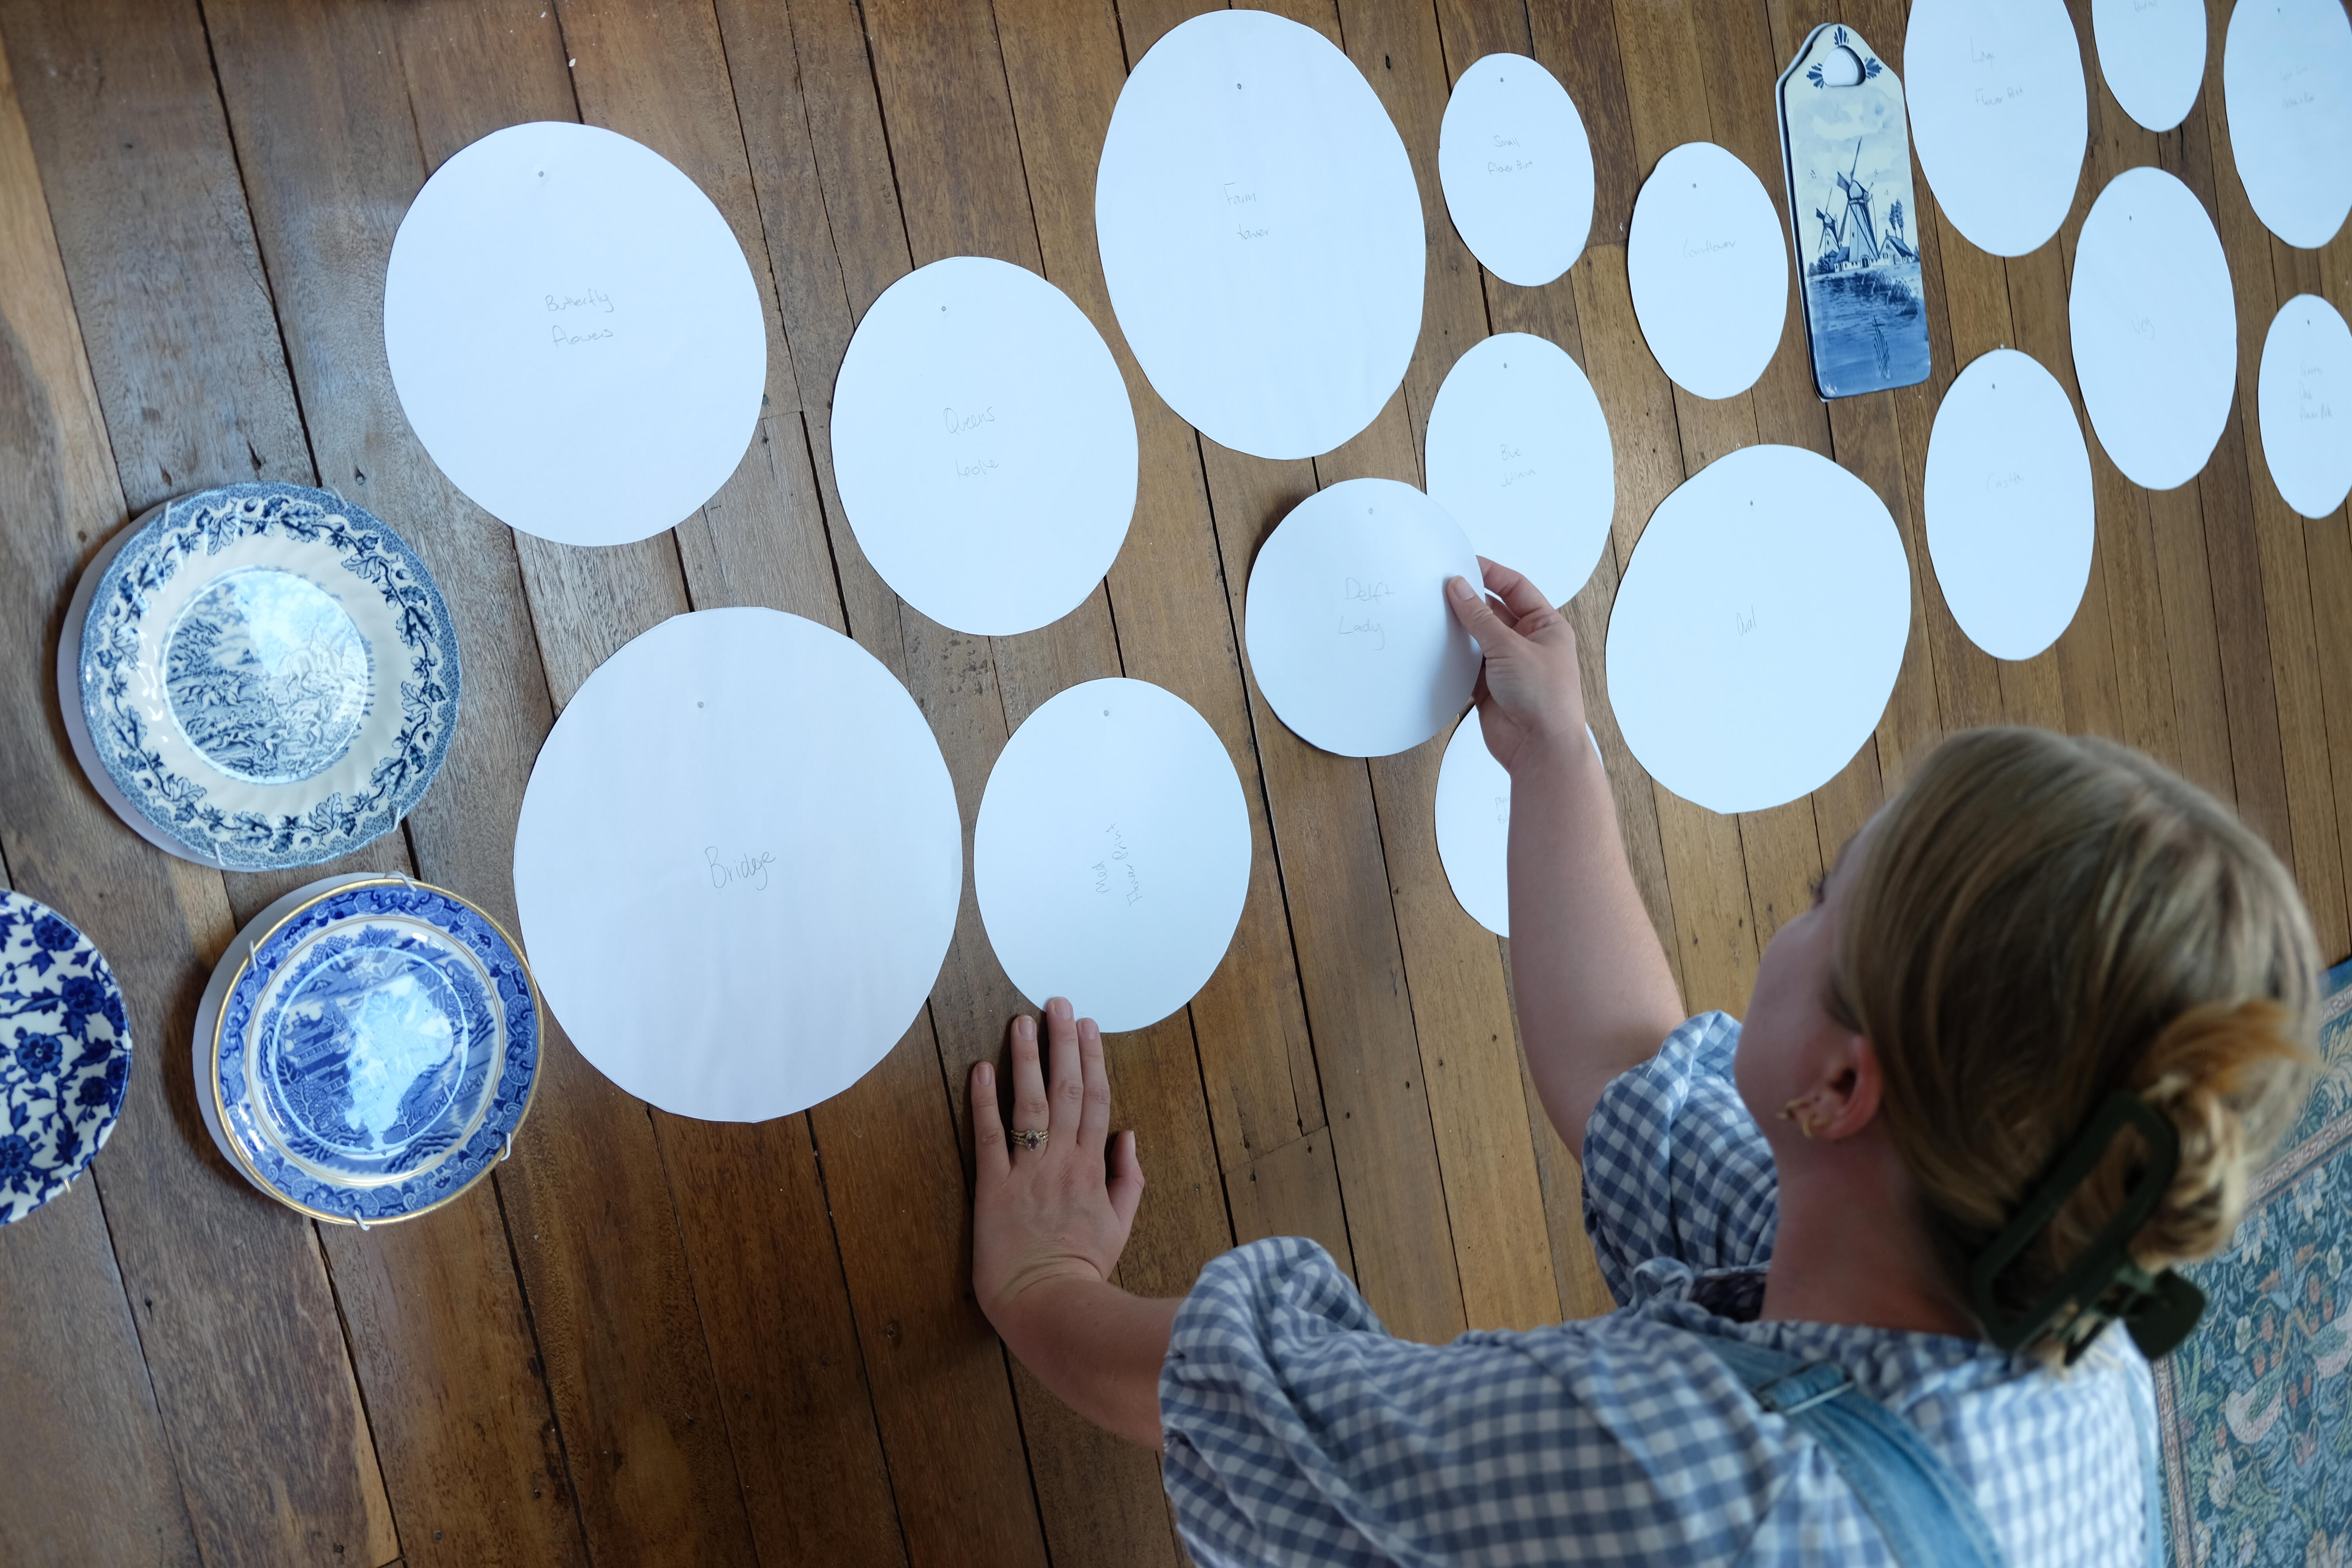
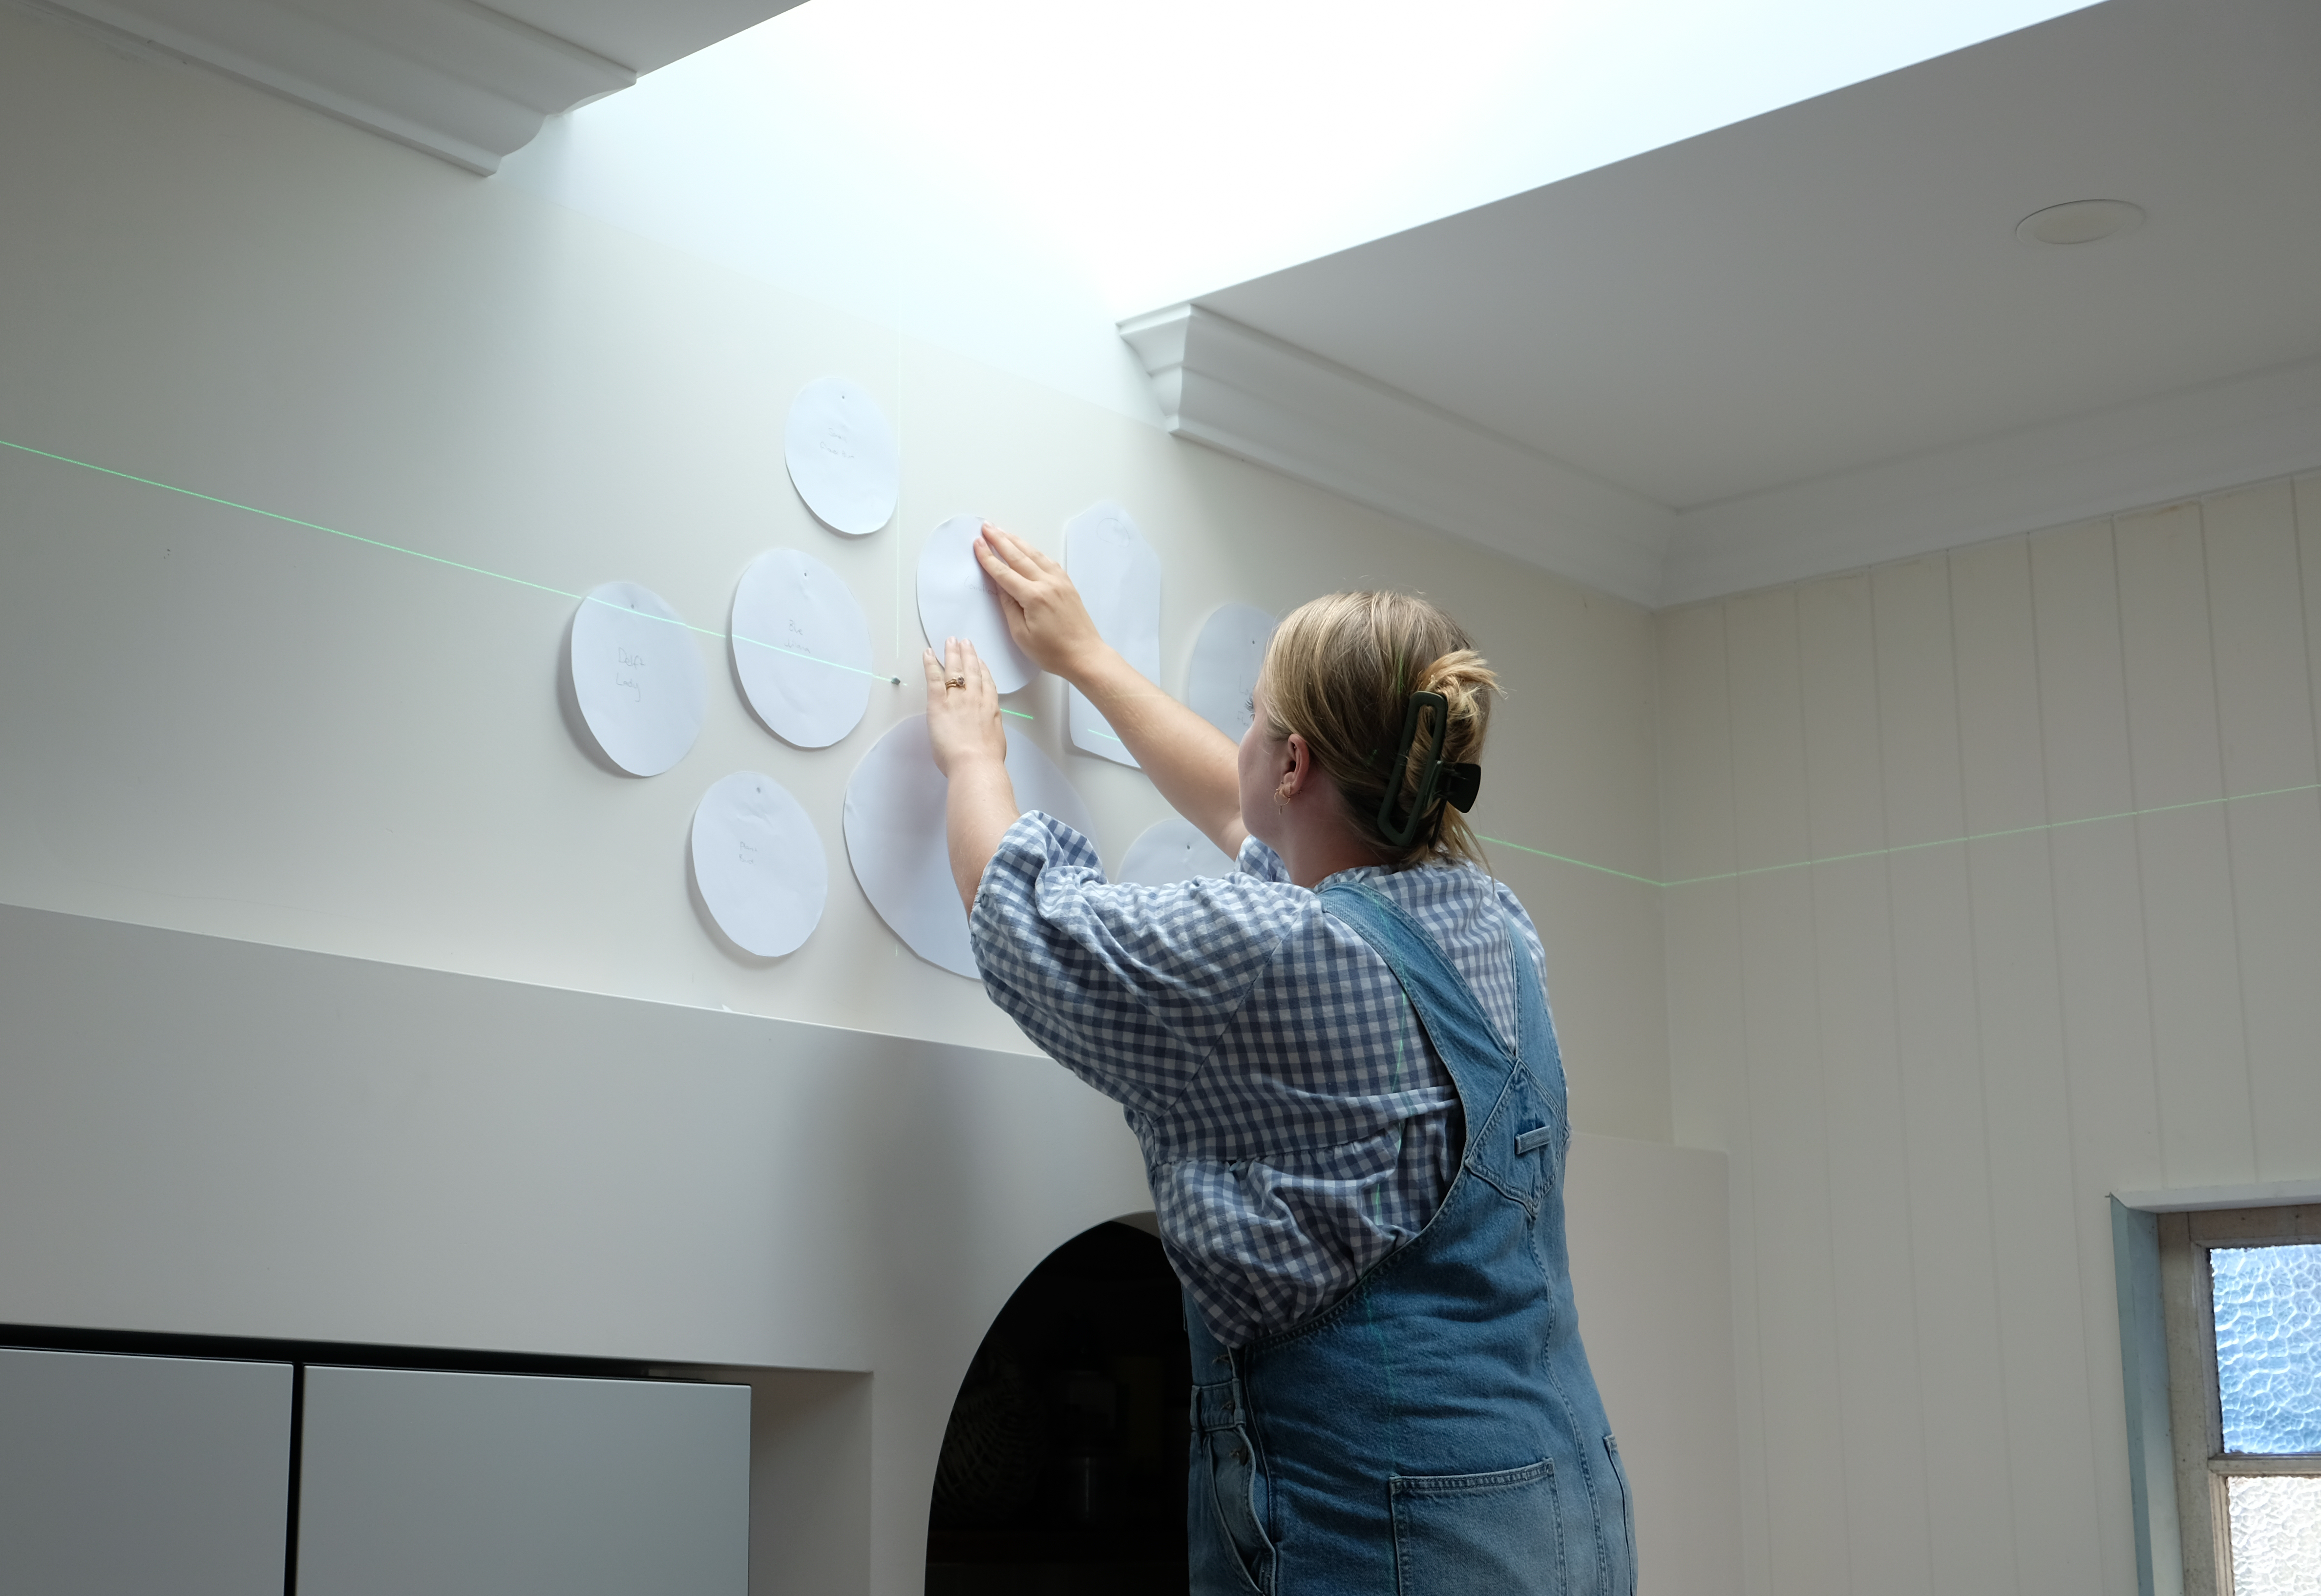
Transfer your layout from the flat surface to the wall, attaching each template using re-usable adhesive (Blu Tac) or masking tape. Once all of your templates are attached to the wall, stand back and make any adjustments before installing any fasteners.
NOTE: Before installing any fasteners into the wall, make sure you check for any services (electrical, water, gas, communications) behind the plasterboard. One by one, install your hooks to the wall and hang each plate.
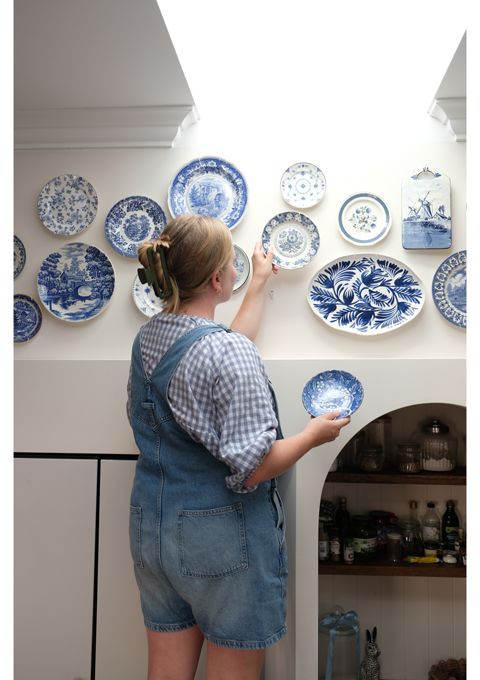
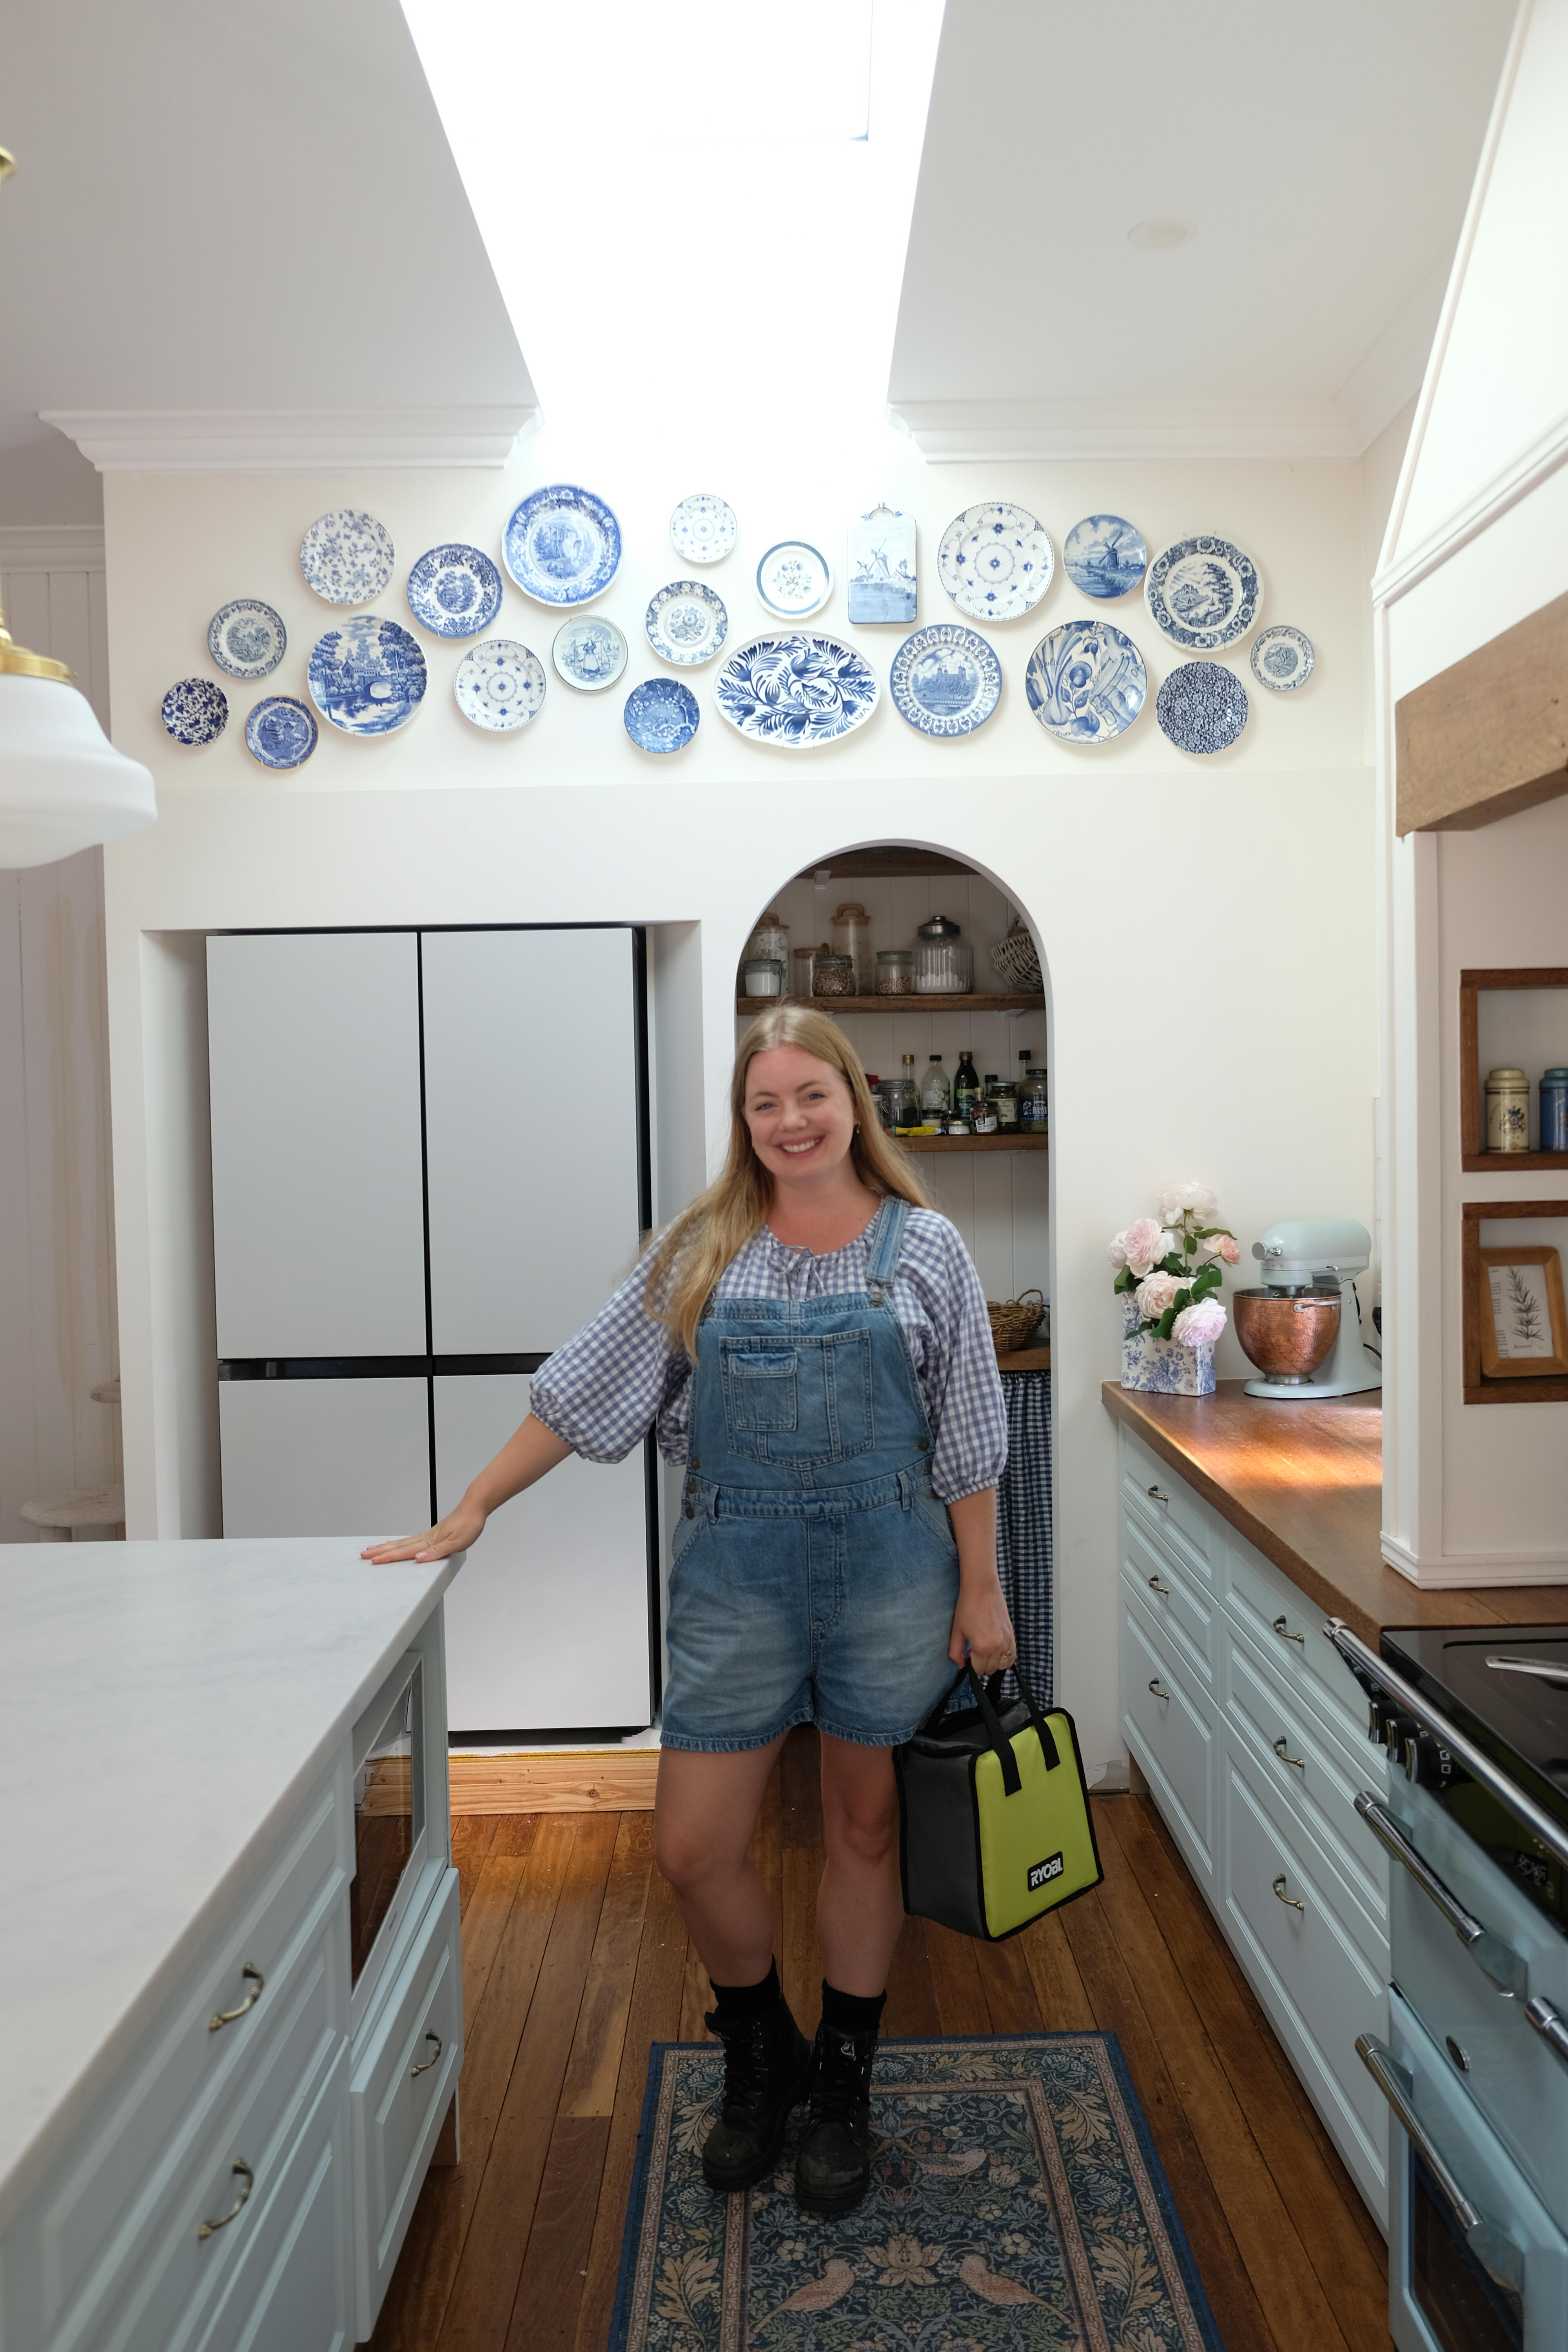
And there you have it. A unique wall feature that even lets you add to or change in the future.
Feeling creative but lacking ideas? We’ve got you covered! Watch our videos and follow the step-by-step instructions to unleash your creativity.
.png?w=100&v=6c04e2a3-04b9-449c-97a0-86f8df82dcb1&itok=D7d8Umfz)

.png?w=100&v=07272864-2df4-45f0-aa93-568aa3920466&itok=Lj7SSICT)

.png?w=100&v=4297d0f7-8d6a-4632-bff2-7c593a97d3cb&itok=fnsLcLhG)


.png?w=100&v=6fe76245-ac4a-4aa3-986d-04347f143028&itok=dFif4A99)


.png?w=100&v=5053a26b-c336-46d9-b44e-ab91738f07c9&itok=efvsqCNL)


