


.png?w=100&v=d5f9955a-145e-481e-8081-5ddf4d74c7cc&itok=hKuNtBOw)


.png?w=100&v=2695a42f-b099-4e31-bdbd-c1b445ff88c0&itok=Md9-7E8t)


%20(2).png?w=100&v=a9b7928b-cece-4e51-b913-62ae316129a9&itok=fEHREjki)
_ANZ-Group-shot_v2.png?w=100&v=f3a4afac-70ac-4758-8474-ff17fe163b1c&itok=Z_Qi2FlQ)
_ANZ-Group-shot.png?w=100&v=72a4a24c-7670-47f7-a68e-edeaafa41c8d&itok=k25pq8iJ)
_ANZ-Group-shots.png?w=100&v=4d5e1cd2-60a9-45da-bcfb-1b8500ccaea9&itok=v6A67Pxg)


Drill into timber, soft metal and hard materials including brick and concrete with the RYOBI 18V ONE+ Hammer Drill.

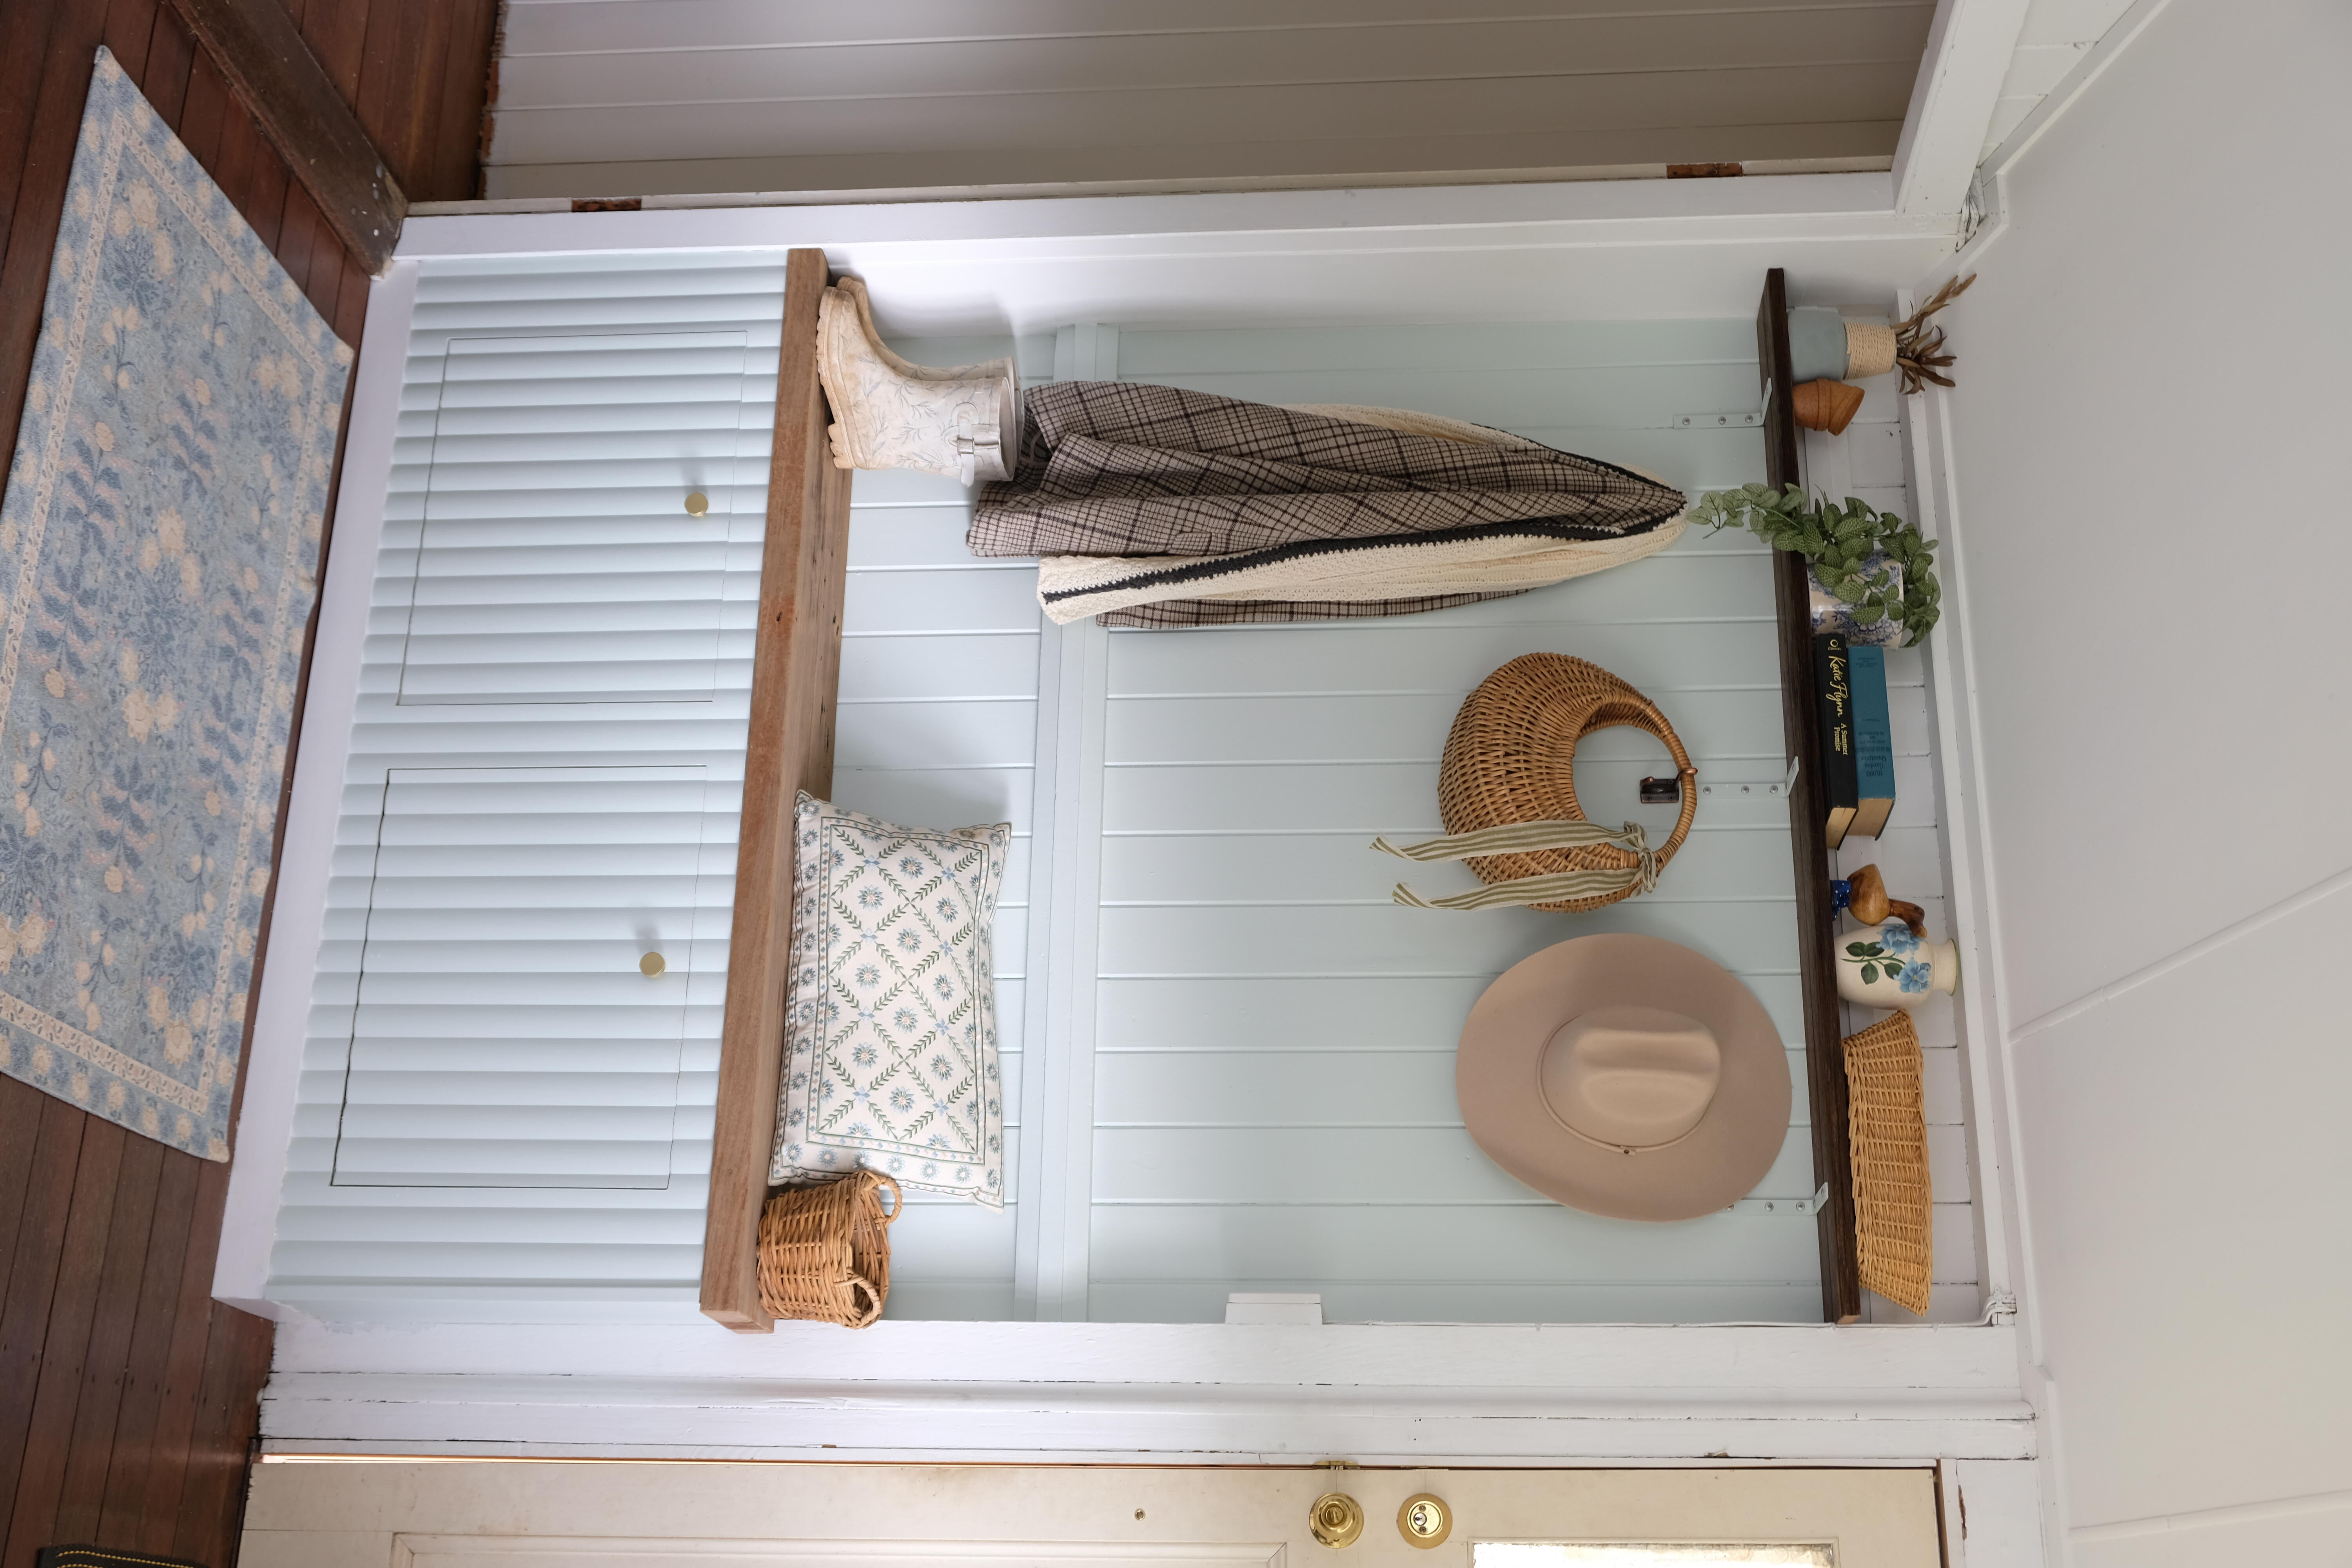
Here’s a great solution for organising and storing your shoe collection (you may need to build more than one!) Follow step-by-step instructions by Jake O'Neill to get started.
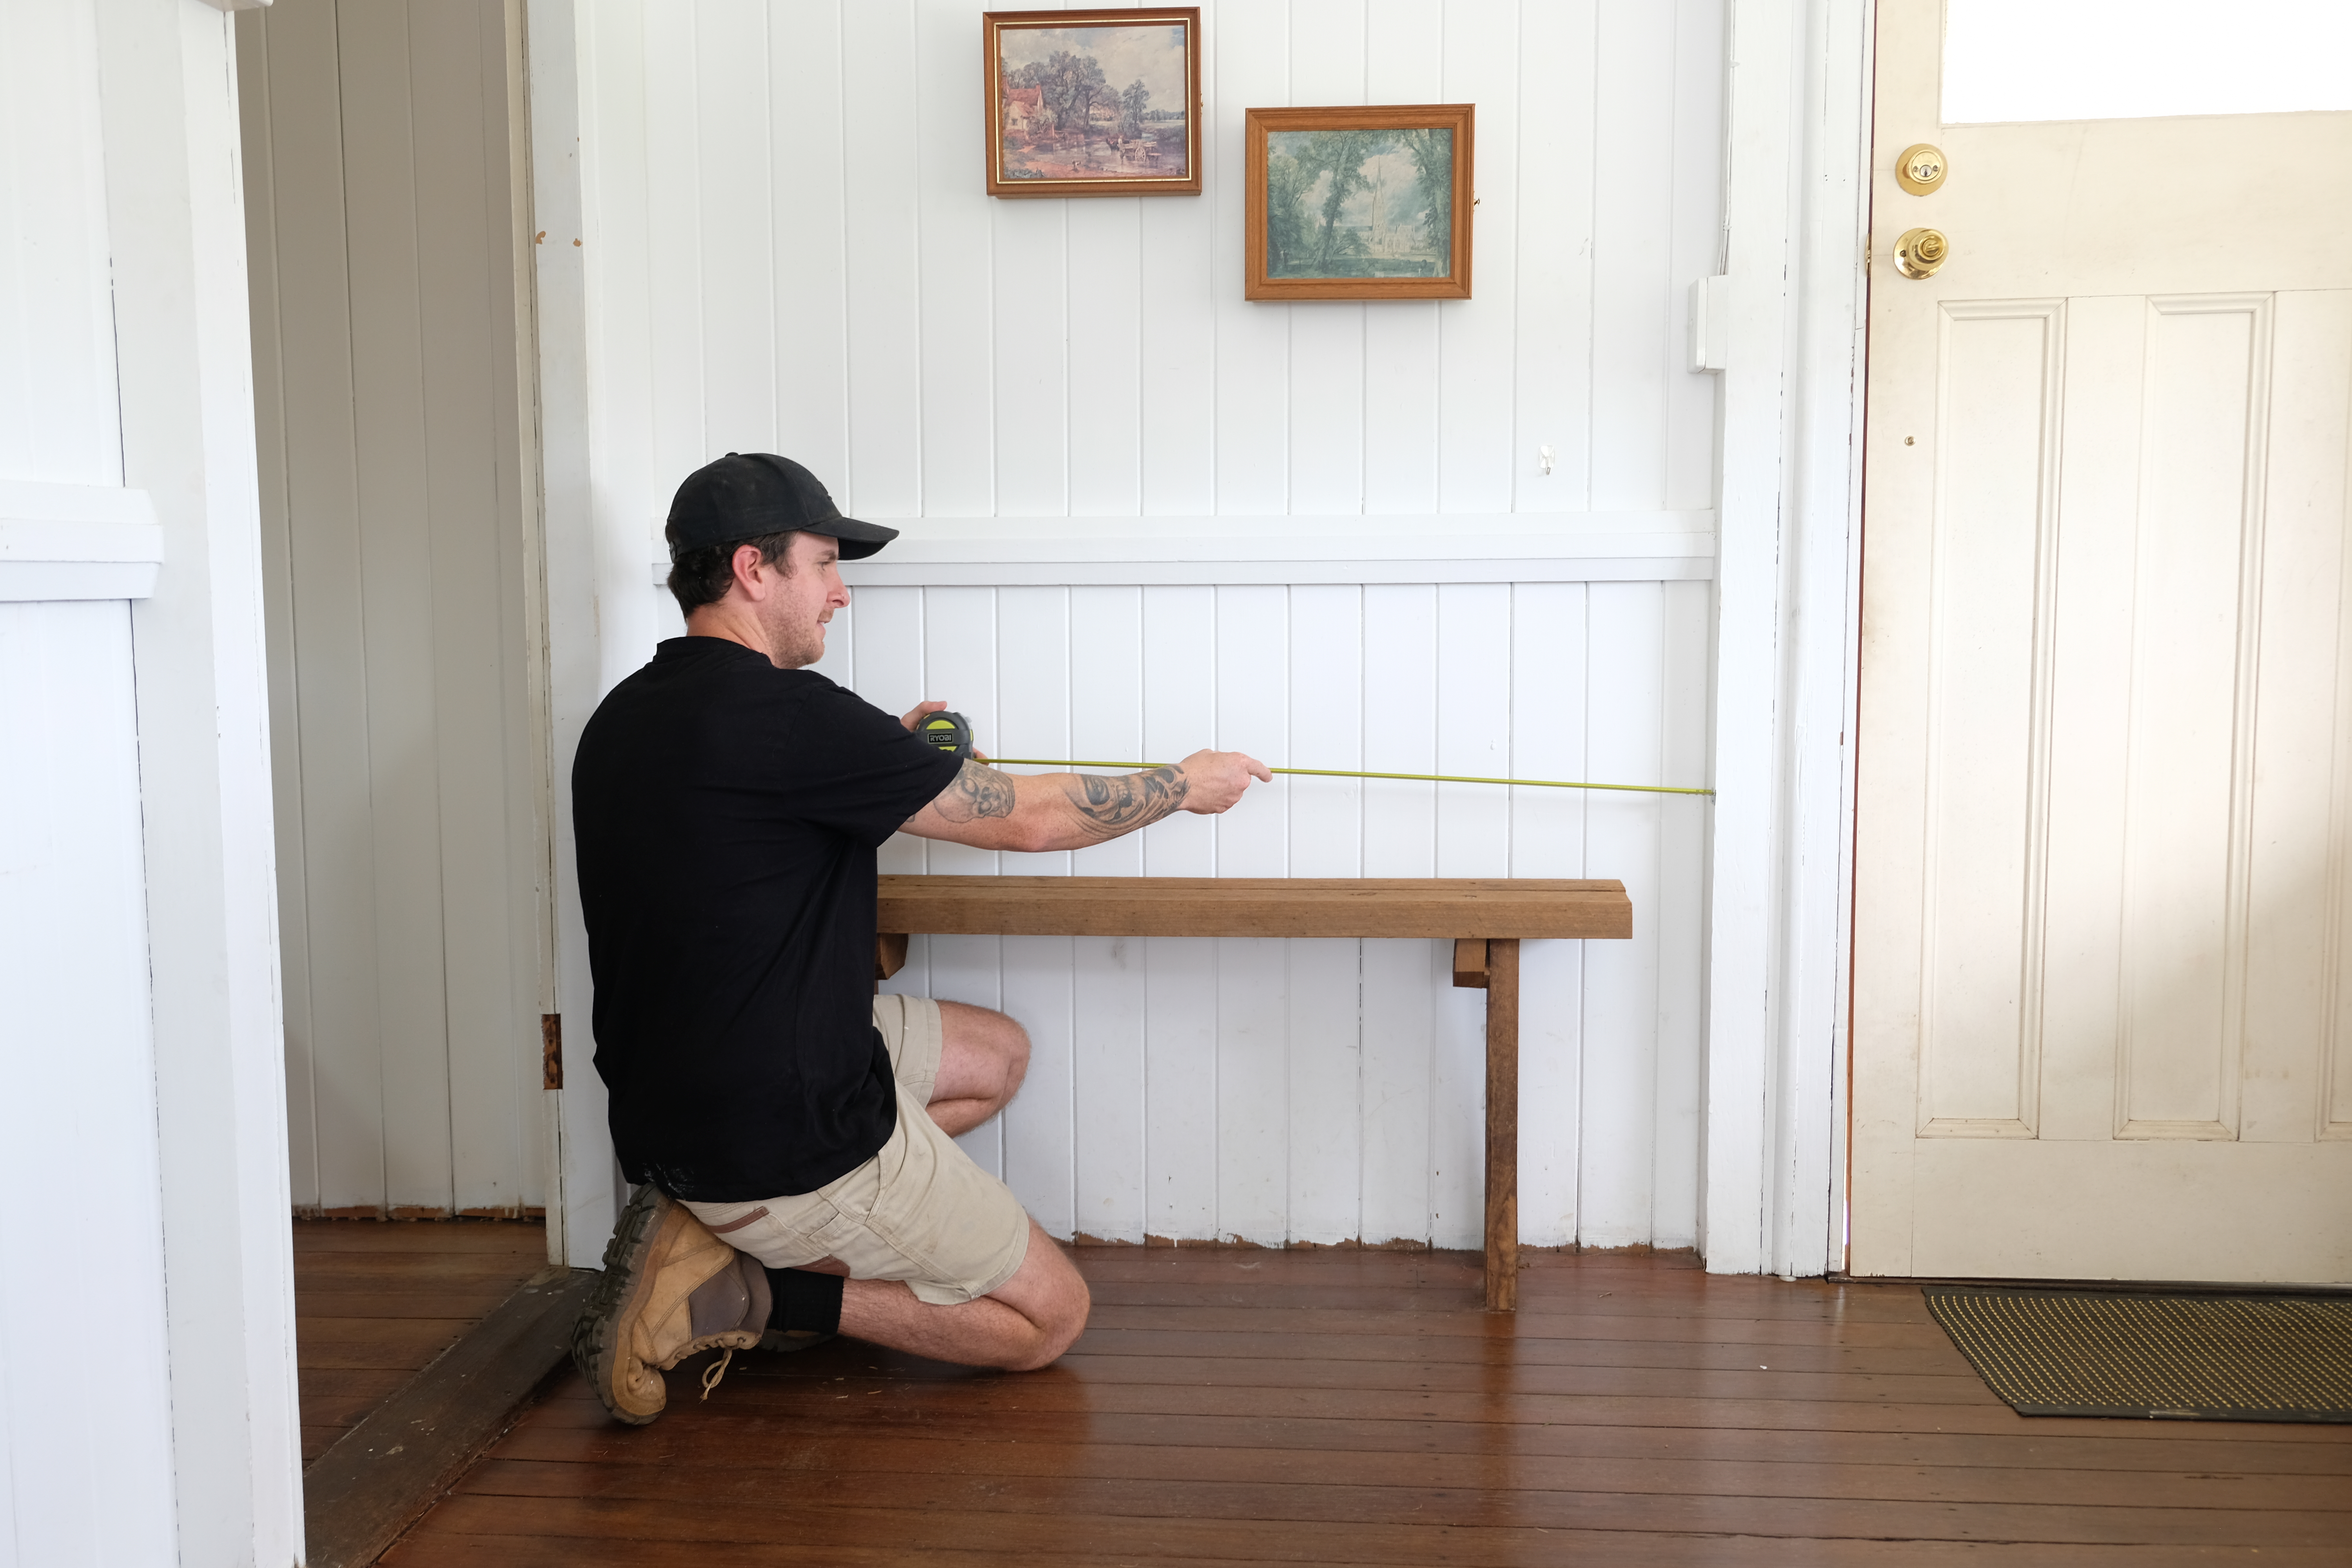
Plan out where your new shoe storage cupboard will be installed. In your plan include things like shelves and hooks for additional hanging and spaces for decor. Record all your measurements.
Transfer measurements to the particle board and, using a track saw (or circ saw and a straight edge guide), cut the front, back and side pieces.
Cut out two rectangle openings for your flip-out drawers. Keep these pieces as they will be used for the drawers.
Cut the remaining pieces for your flip-out drawers to size, you may also need to use a jigsaw to get into the corners so you don’t overcut them with the track saw.
Note: The pieces required for your drawers will depends on the type of flip-out hinges you purchased.


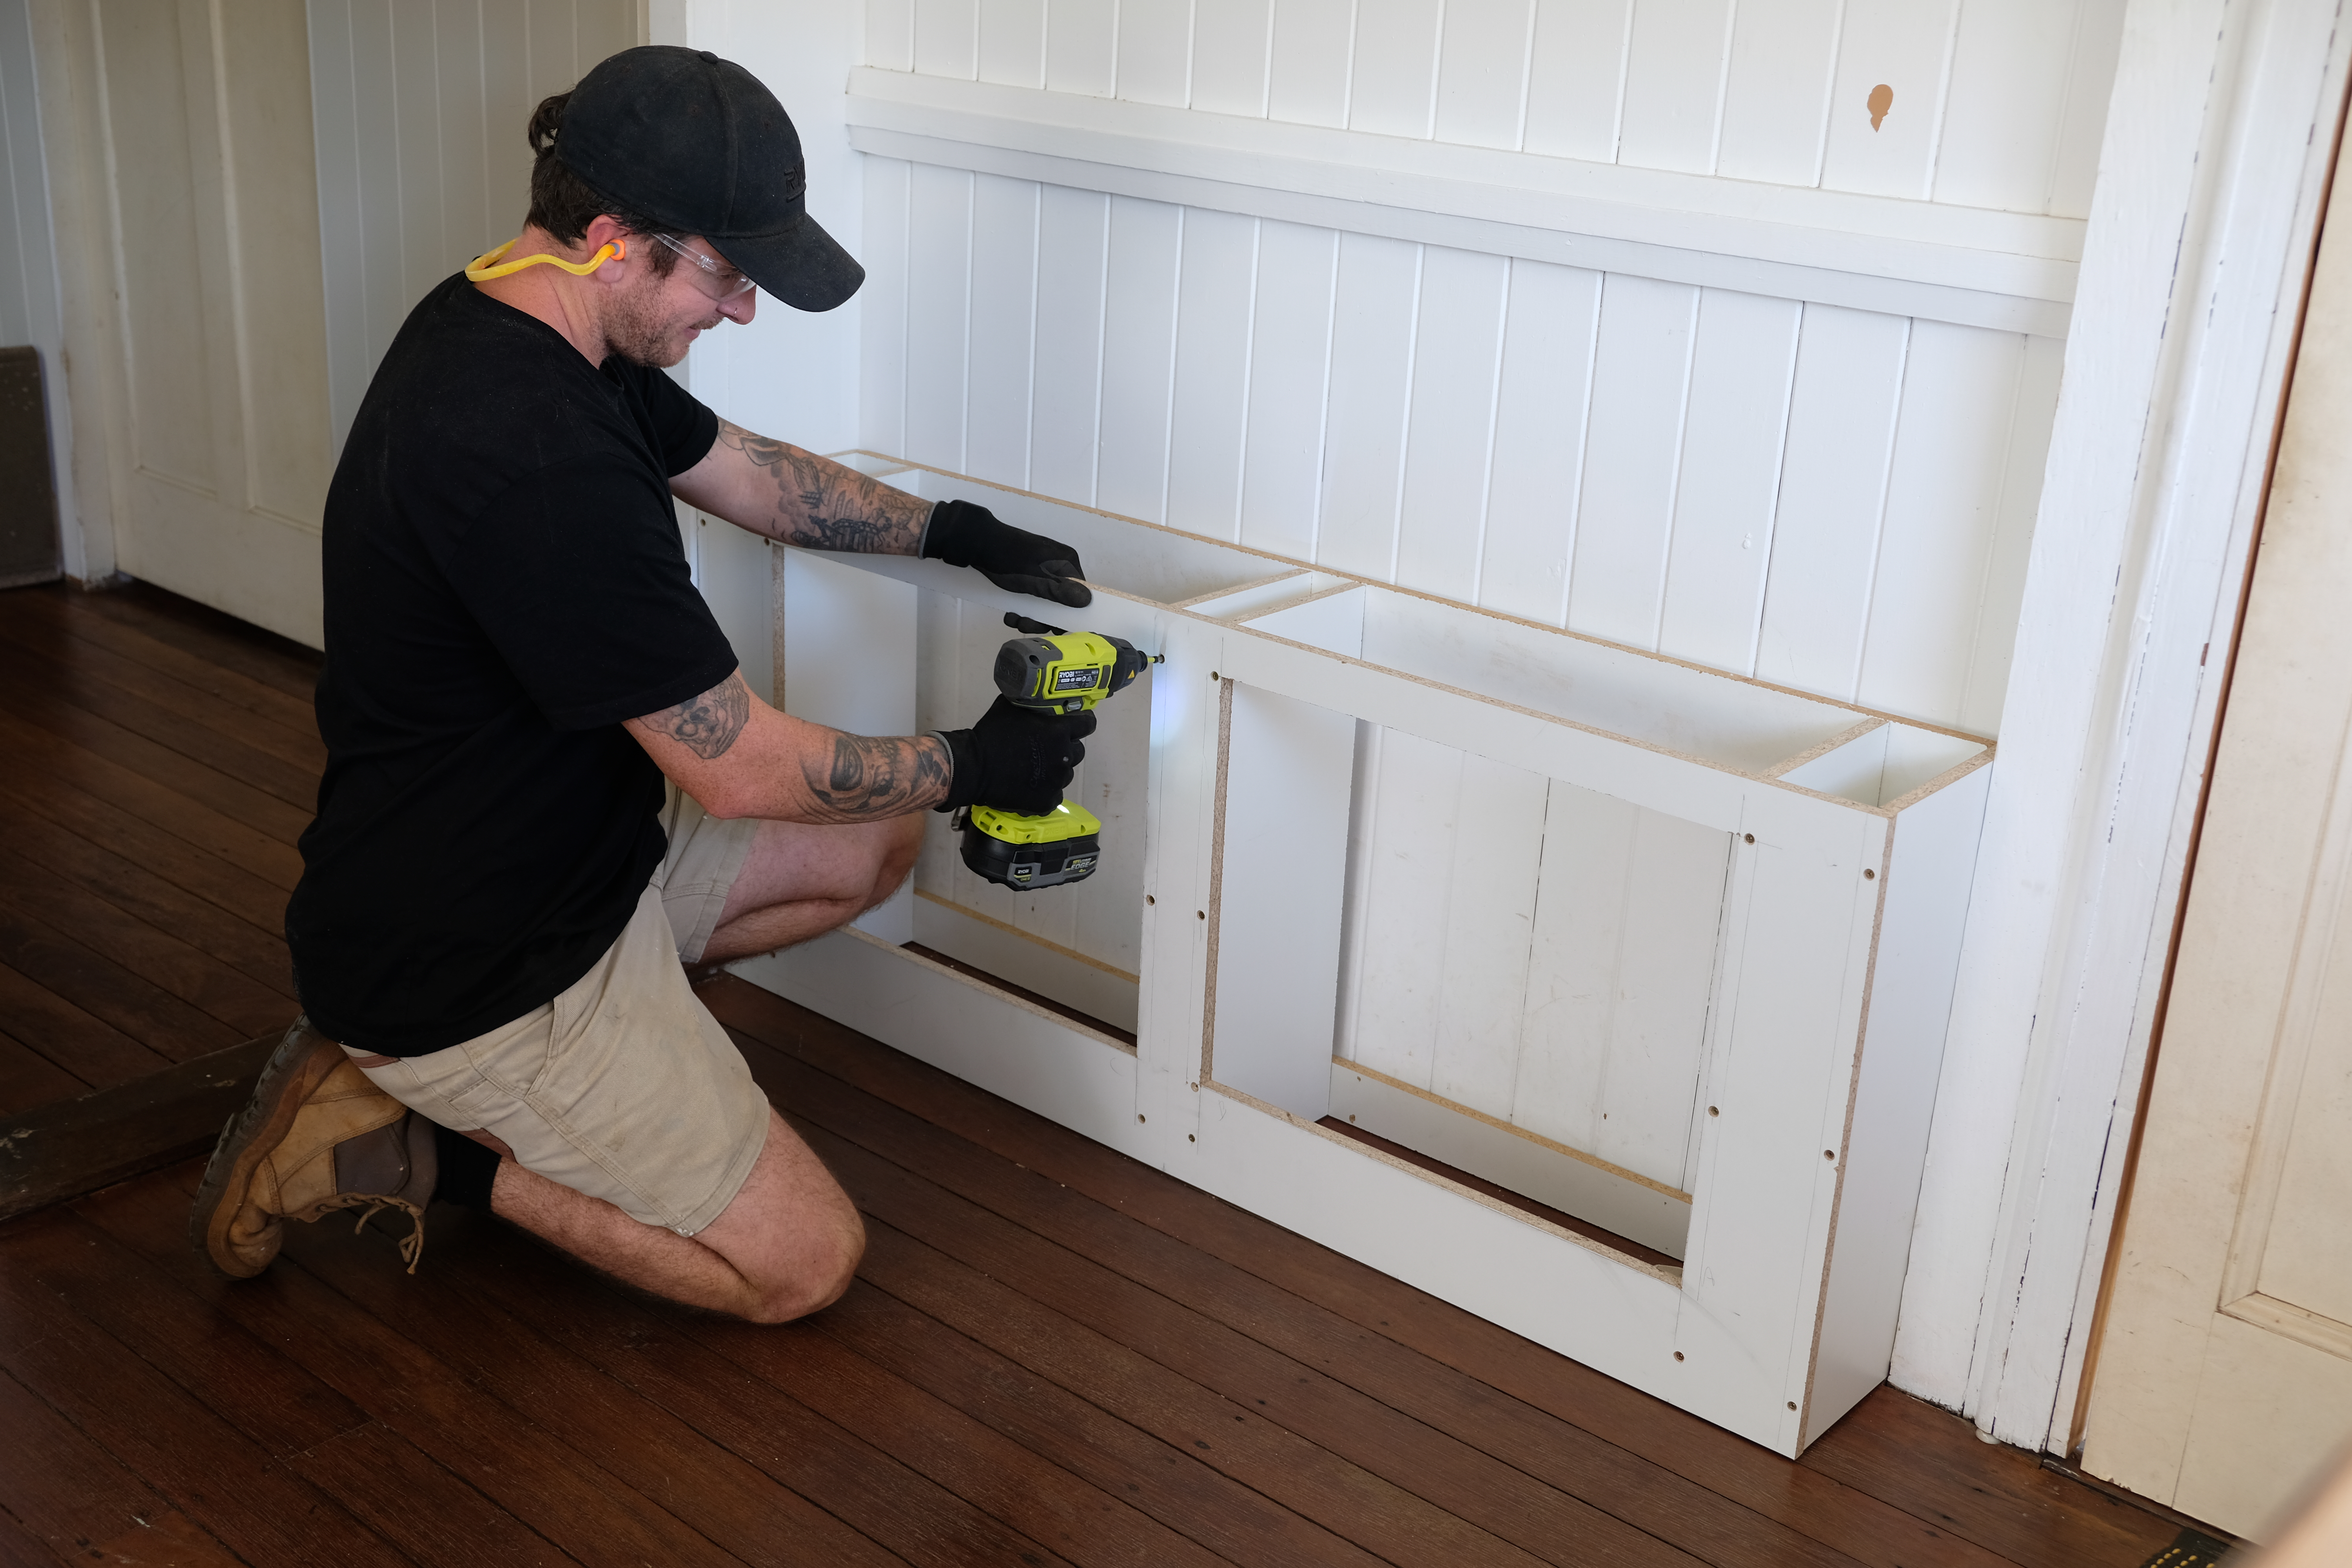
Pre-drill the holes and, using an impact driver, assemble the pieces of the frame using particle board screws. Fix the frame to the studs in the wall to keep it secure.
Note: Use a stud finder to locate studs if required (ensure there are no electrical, gas, water or telecom services in the wall before drilling or screwing through plasterboard).
Pre-drill and screw together the drawer pieces and attach the flip-out hinges. Install the drawers into the frame, ensuring they have full motion and are opening and closing smoothly.
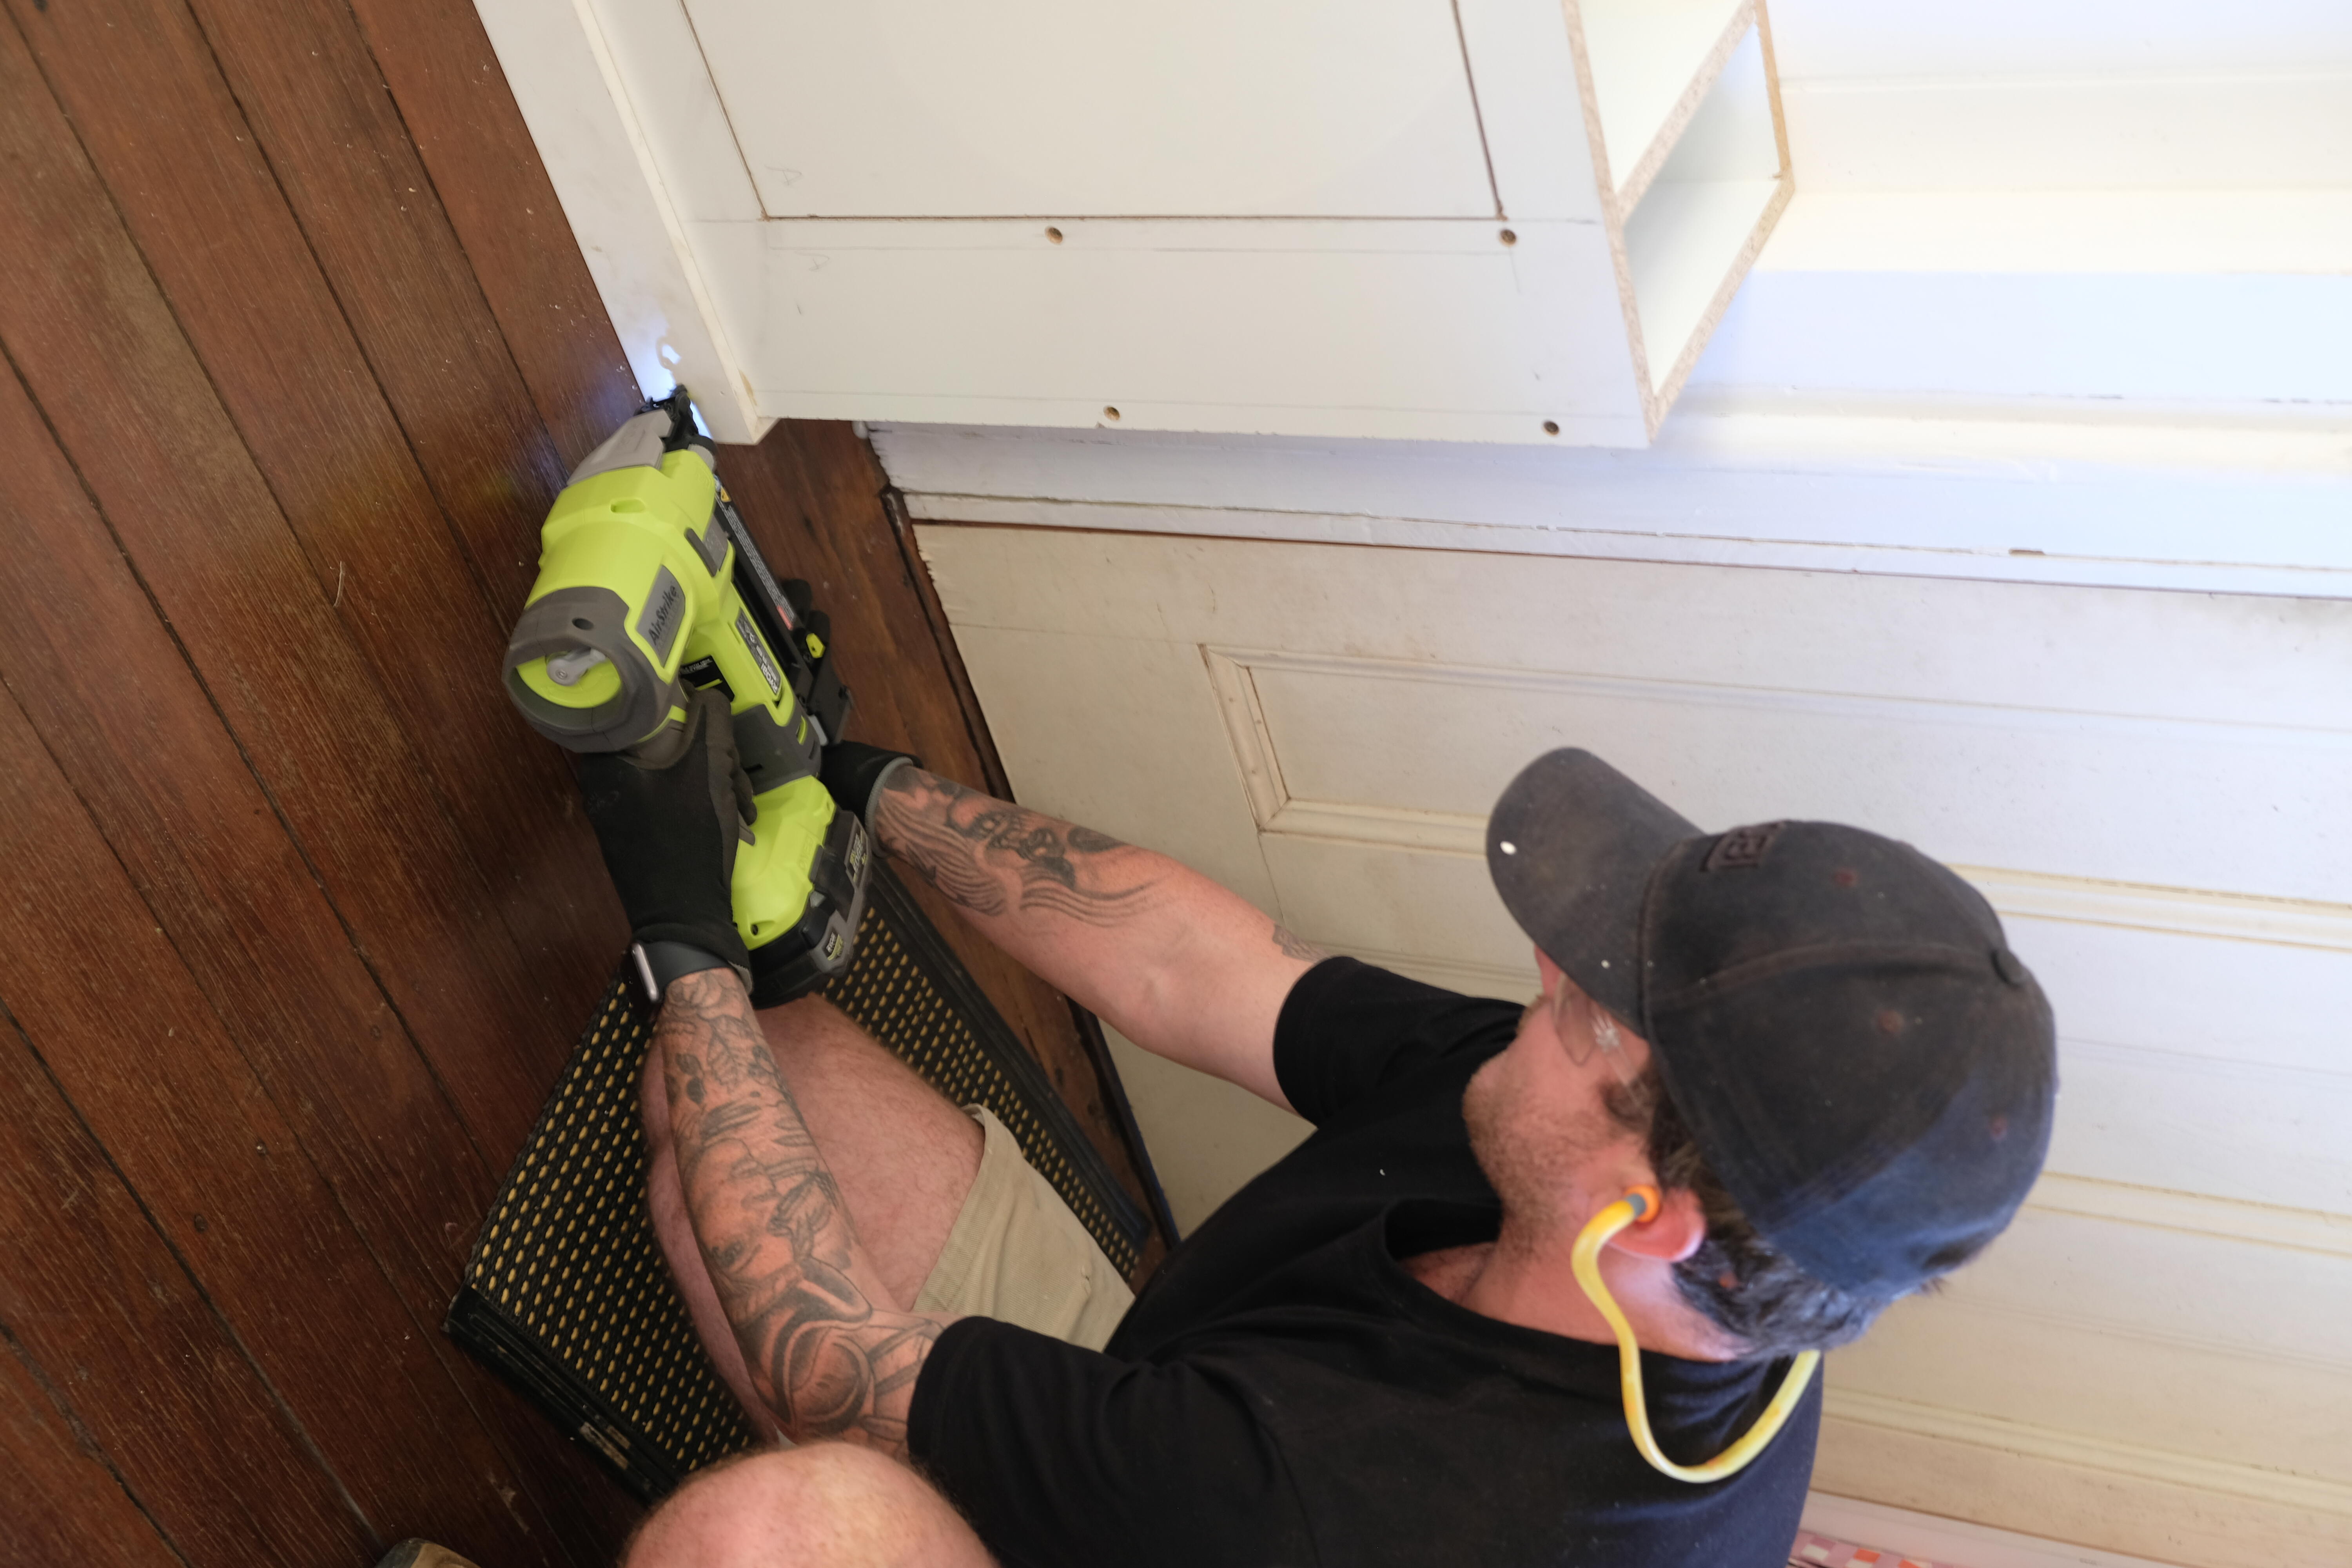
Using a mitre saw, cut the skirting, top and decorative pieces to size. Sand any sharp edges and install using adhesive and a brad nailer.

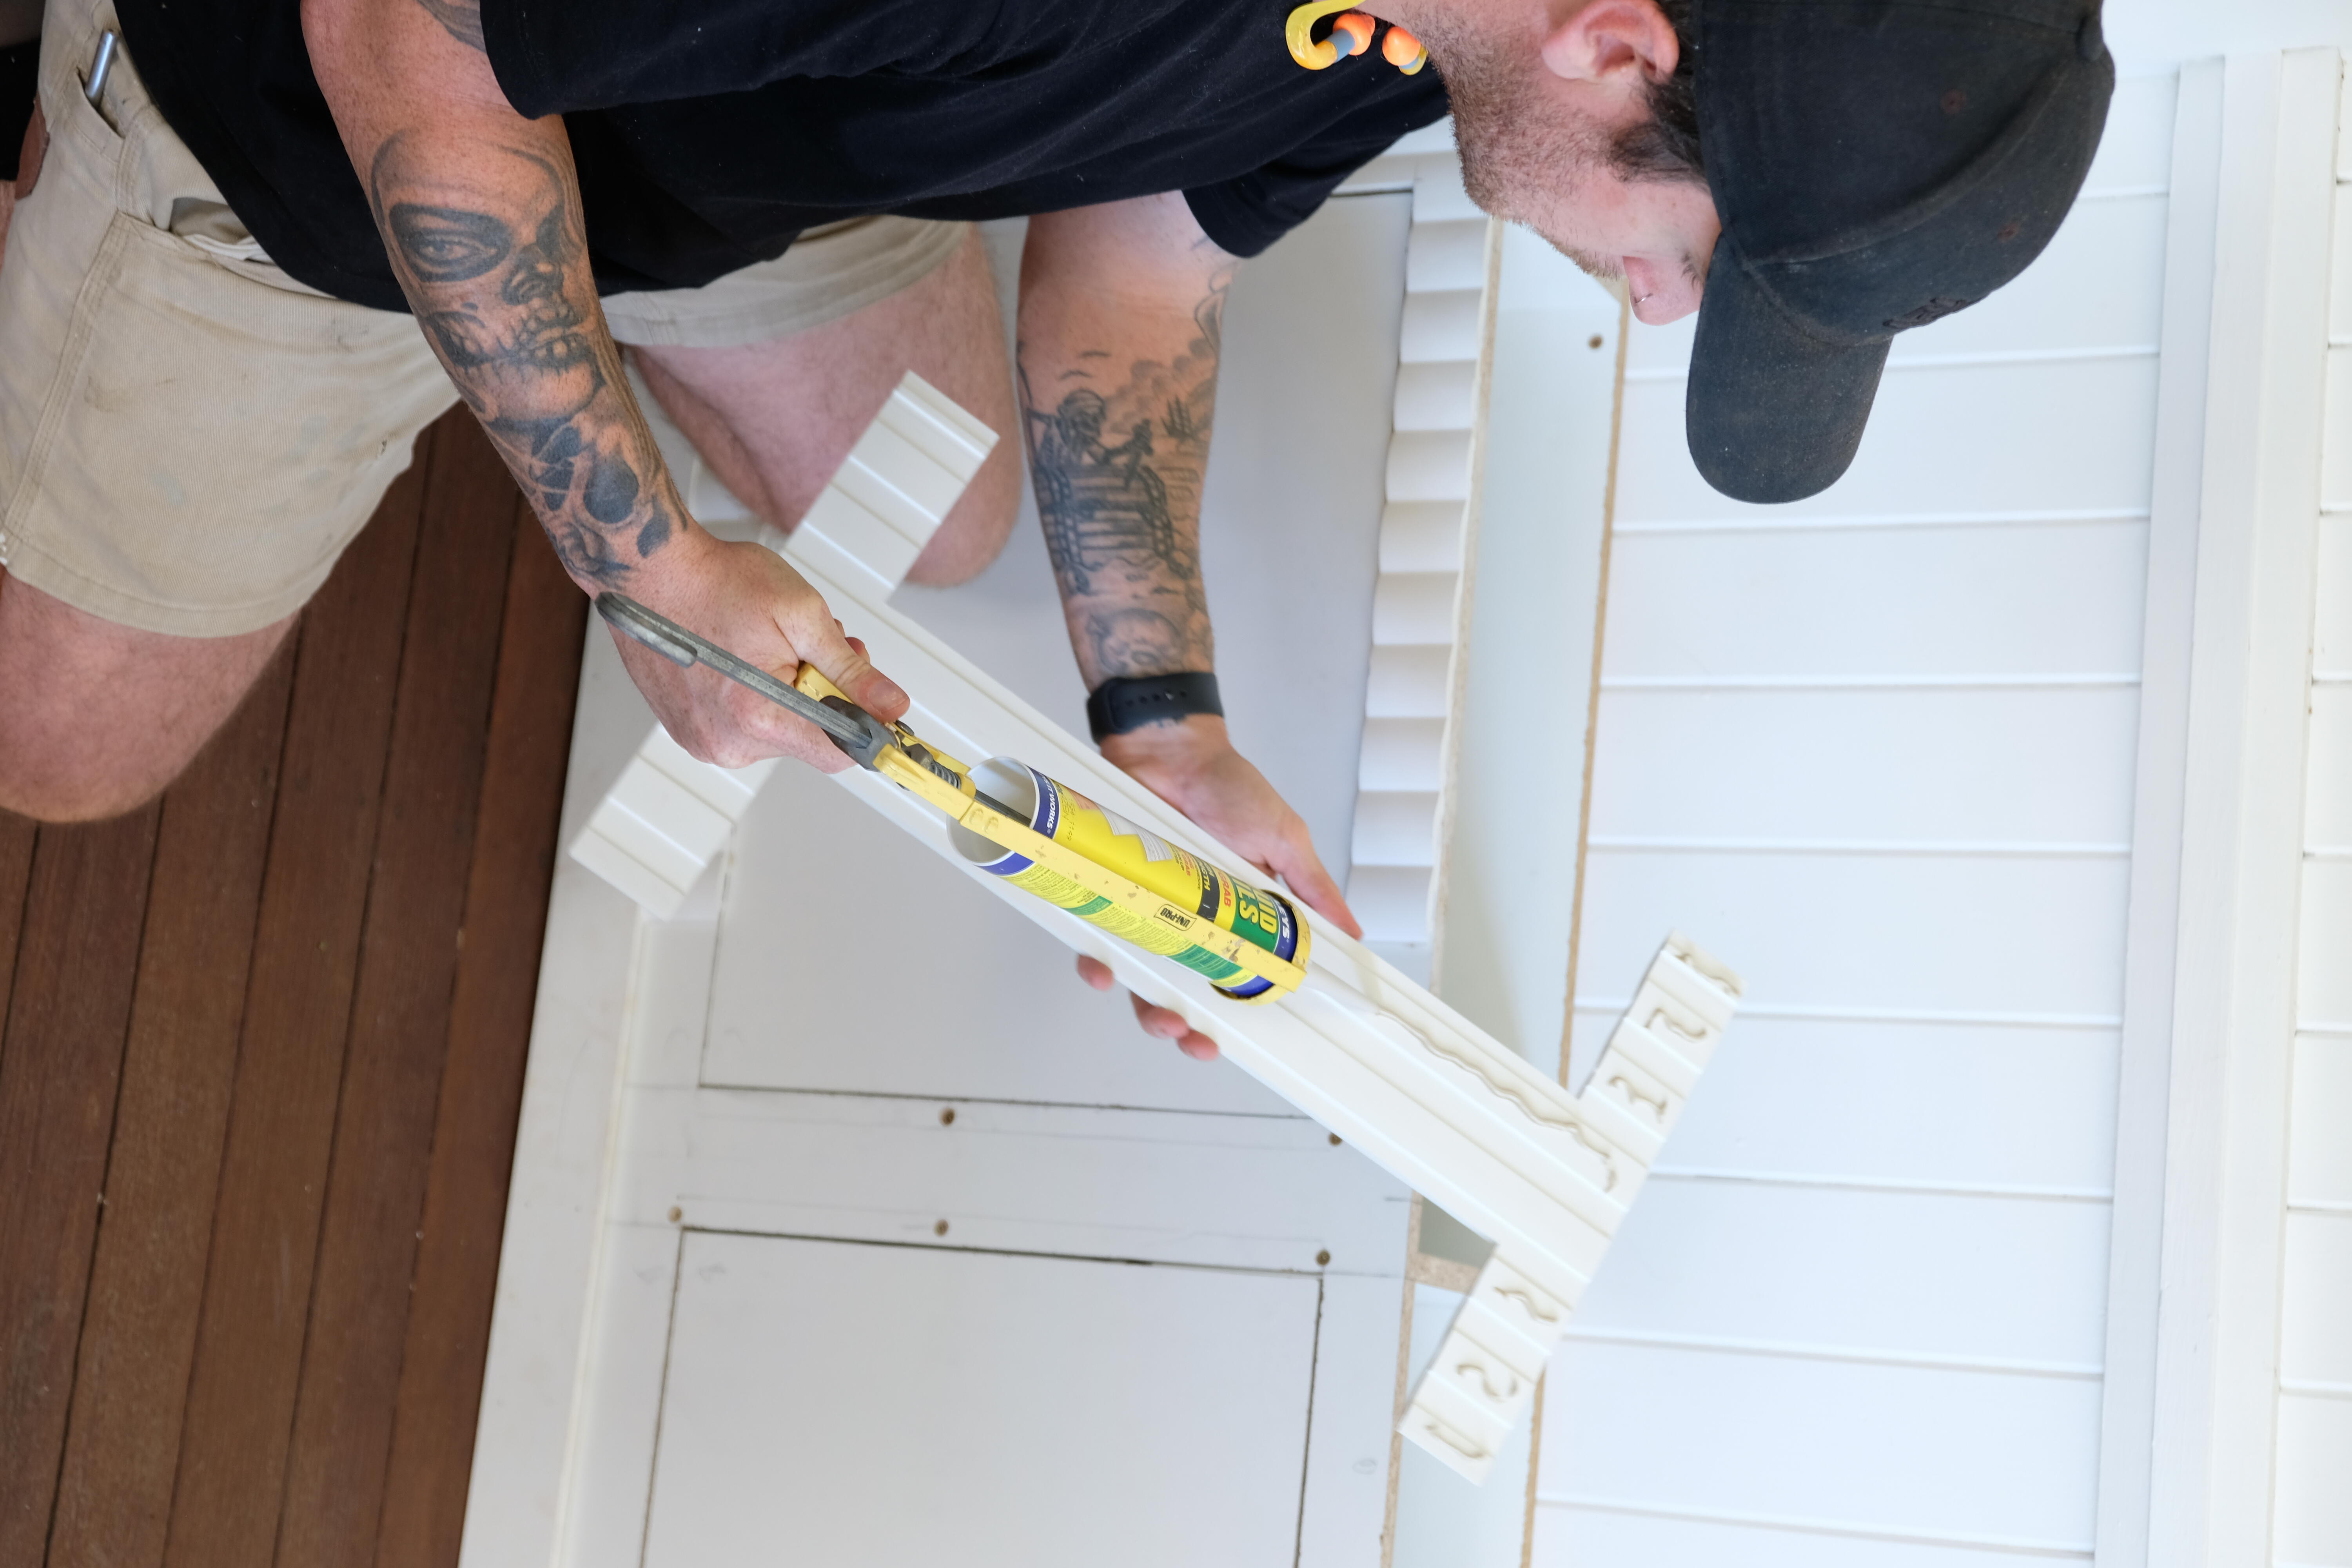
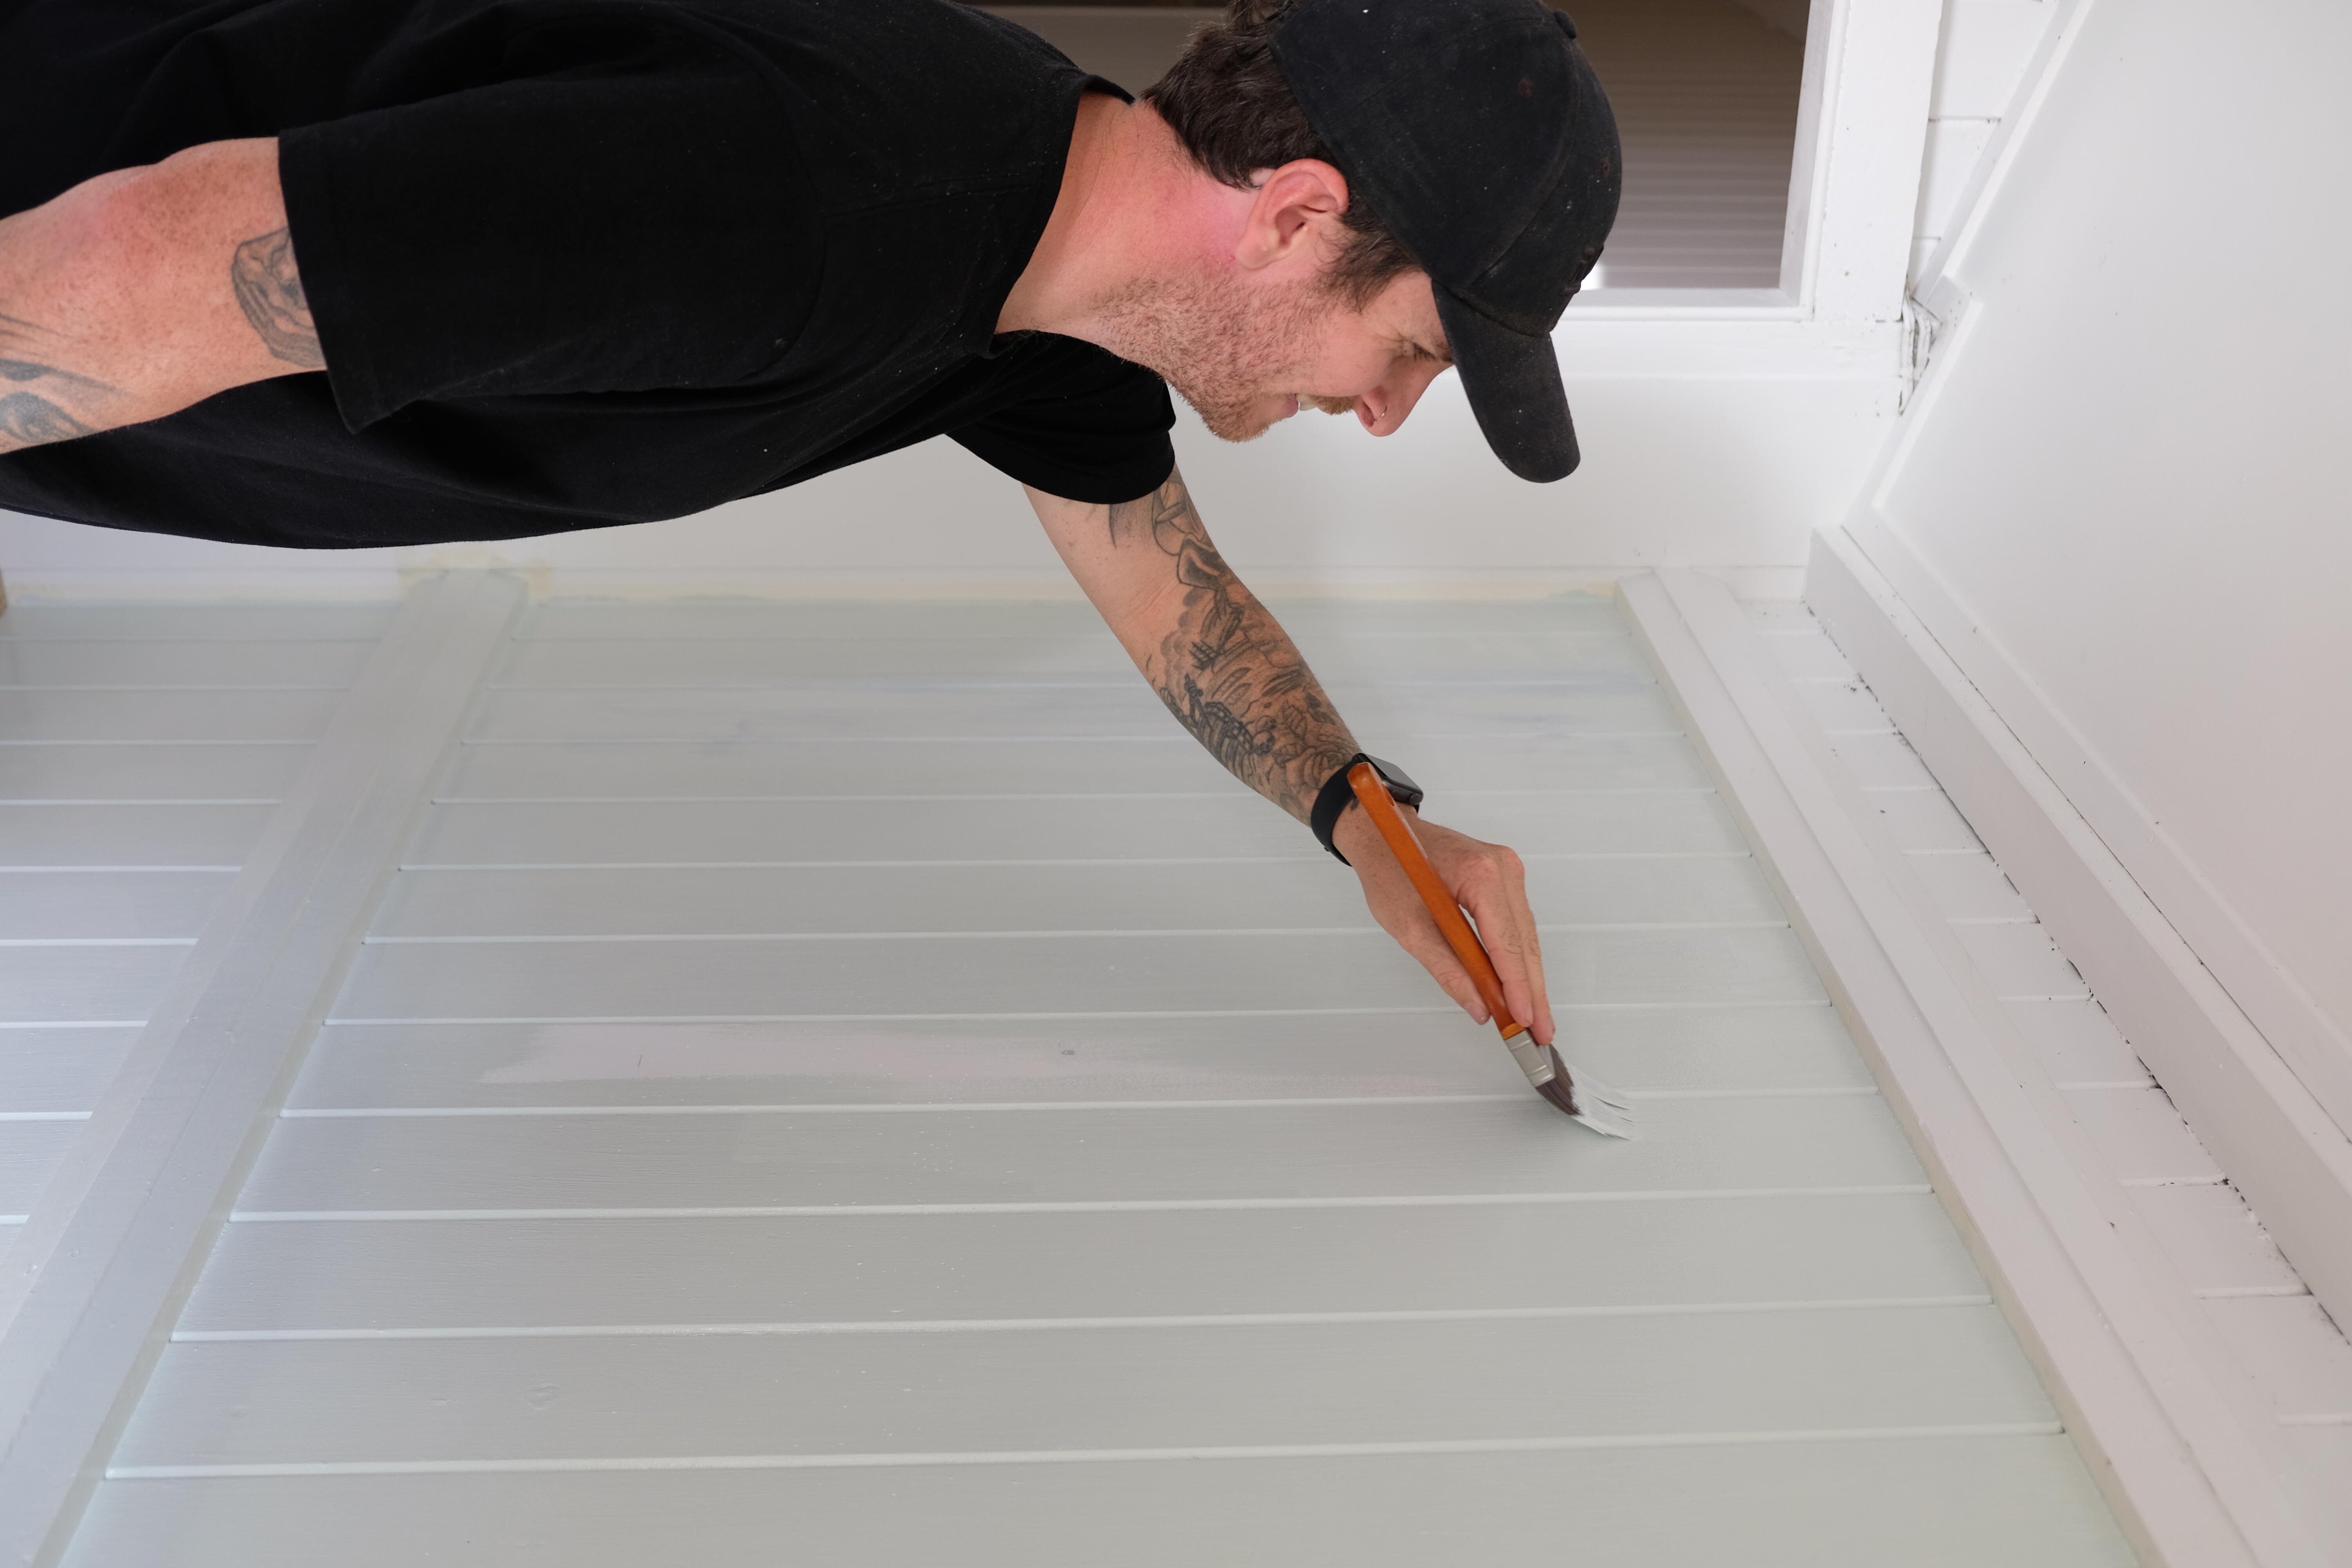
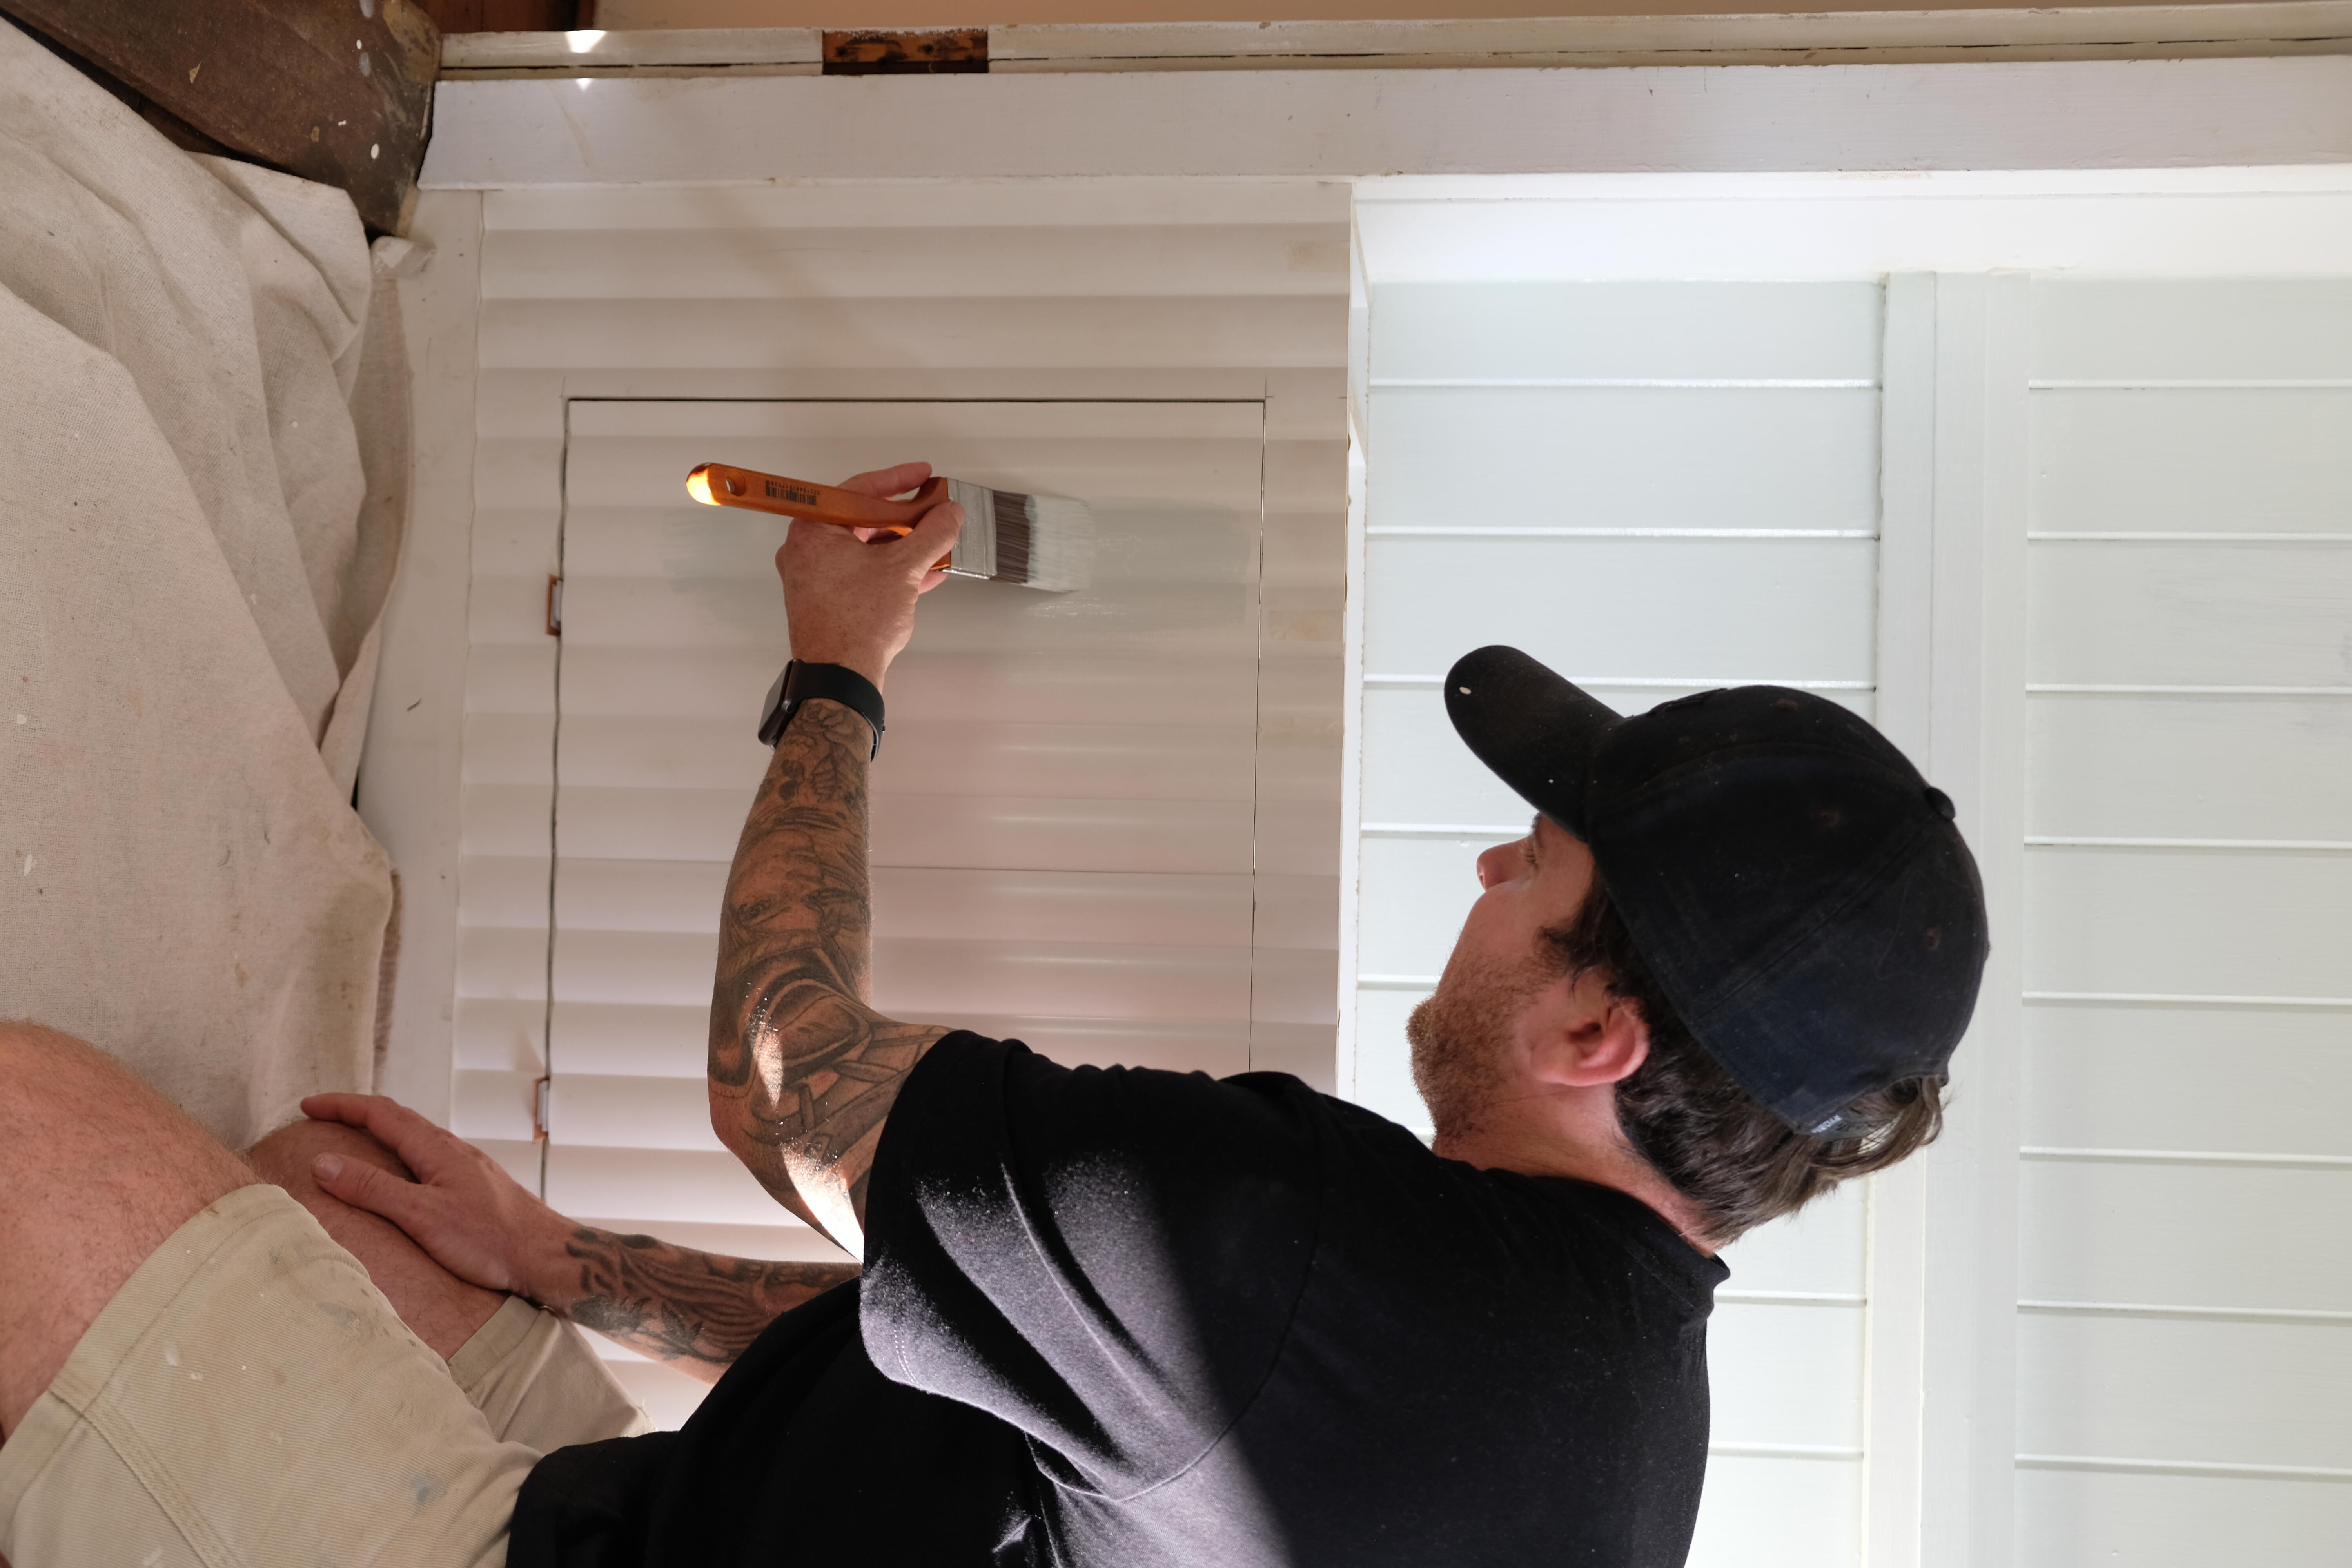
Fill nail holes with wood filler, fill any gaps with silicone, prime and paint.
Feeling creative but lacking ideas? We’ve got you covered! Watch our videos and follow the step-by-step instructions to unleash your creativity.
.png?w=100&v=6c04e2a3-04b9-449c-97a0-86f8df82dcb1&itok=D7d8Umfz)

.png?w=100&v=07272864-2df4-45f0-aa93-568aa3920466&itok=Lj7SSICT)

.png?w=100&v=4297d0f7-8d6a-4632-bff2-7c593a97d3cb&itok=fnsLcLhG)


.png?w=100&v=6fe76245-ac4a-4aa3-986d-04347f143028&itok=dFif4A99)


.png?w=100&v=5053a26b-c336-46d9-b44e-ab91738f07c9&itok=efvsqCNL)


.png?crop=yes&k=c&w=690&h=690&v=a4b63582-c396-4722-ac7f-d5c2d50b4b17&itok=gfFIhyAE)


.jpg?crop=yes&k=c&w=690&h=690&v=49dc01ac-5a59-462f-a71b-b7bf68d6570d&itok=Rykxbq4a)


