


_ANZ-Group-shot_v2.png?w=100&v=f3a4afac-70ac-4758-8474-ff17fe163b1c&itok=Z_Qi2FlQ)


.png?w=100&v=76611618-74f9-4150-85bd-f3f88e49eece&itok=5ehAJg_Q)


.png?w=100&v=5053a26b-c336-46d9-b44e-ab91738f07c9&itok=efvsqCNL)


.png?w=100&v=d5f9955a-145e-481e-8081-5ddf4d74c7cc&itok=hKuNtBOw)


.png?w=100&v=2695a42f-b099-4e31-bdbd-c1b445ff88c0&itok=Md9-7E8t)


%20(2).png?w=100&v=a9b7928b-cece-4e51-b913-62ae316129a9&itok=fEHREjki)
_ANZ-Group-shot.png?w=100&v=72a4a24c-7670-47f7-a68e-edeaafa41c8d&itok=k25pq8iJ)
_ANZ-Group-shots.png?w=100&v=4d5e1cd2-60a9-45da-bcfb-1b8500ccaea9&itok=v6A67Pxg)


Drill into timber, soft metal and hard materials including brick and concrete with the RYOBI 18V ONE+ Hammer Drill.

Congratulations, you’re about to be +ONE! Before your new addition arrives, here are some nursery projects that you can DIY using RYOBI ONE+.
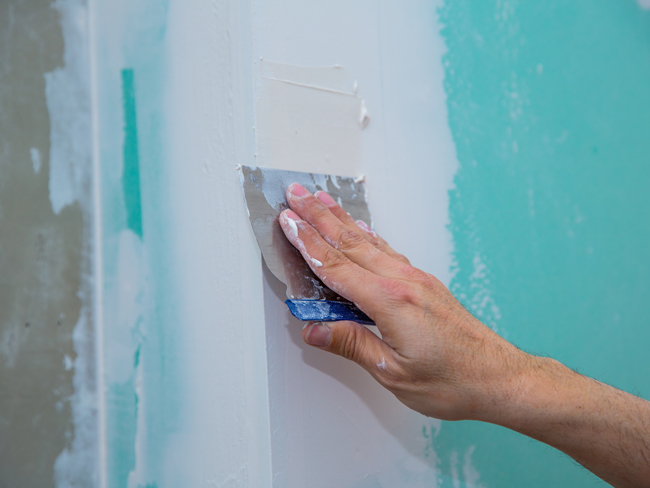
Wait! Before you lash out and start applying a new paint scheme to the room, check the walls for flaking paint, cracks and dents. If you’ve discovered (or accidentally created) a few when you emptied the room to make it a nursery, patch them with a premixed plaster product. Sand the repairs smooth with the Random Orbital Sander and Corner Sander. That way your hands won't feel like sandpaper on the new bub's skin. Then paint away!
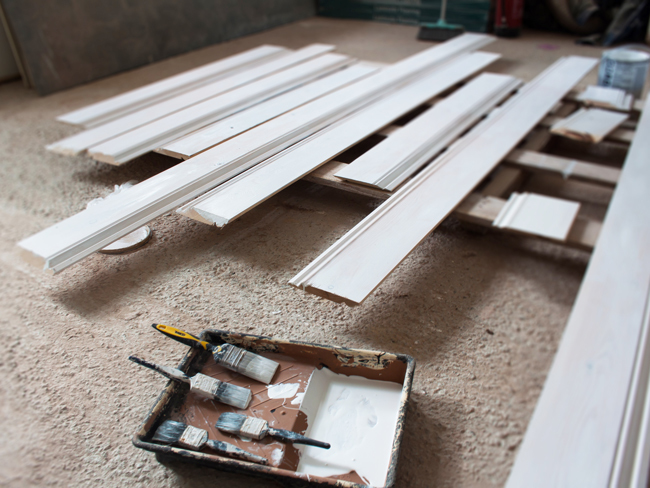
If you’ve been told those old, daggy skirting boards and architraves might look good in the State Library but aren’t really suited to a nursery, it’s time they got the chop. Remove them with a Multi Tool, and replace them using a Brad Nailer to attach them without leaving big holes to patch. Don’t forget to update the window trims, too.

Ditch the allen key! New baby’s furniture looks great in the showroom and online, but it usually requires a LOT of assembly. That’s where the Drill Driver and the right screw driver bit will save you time (and blisters) putting flat pack furniture together, no matter how dodgy the instructions are!
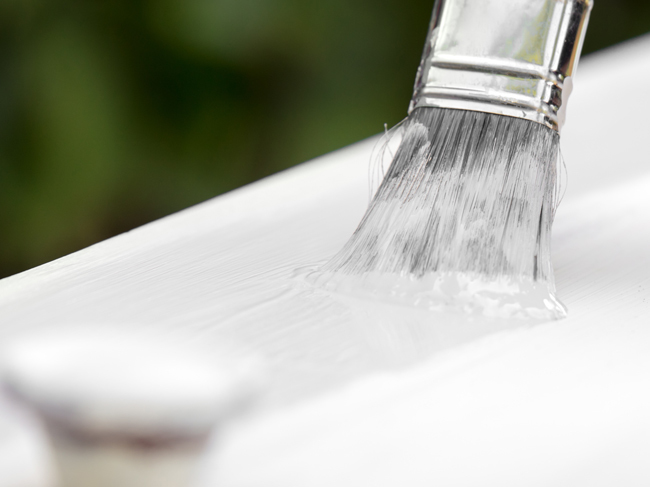
Upcycling an old chest of drawers or toybox is a great idea – but best to get started on removing any splinters or blemishes. Get all the edges as smooth as a baby’s b*m with a Random Orbital Sander . If they’re painted, you can use a Heat Gun to help remove old paint and varnish.
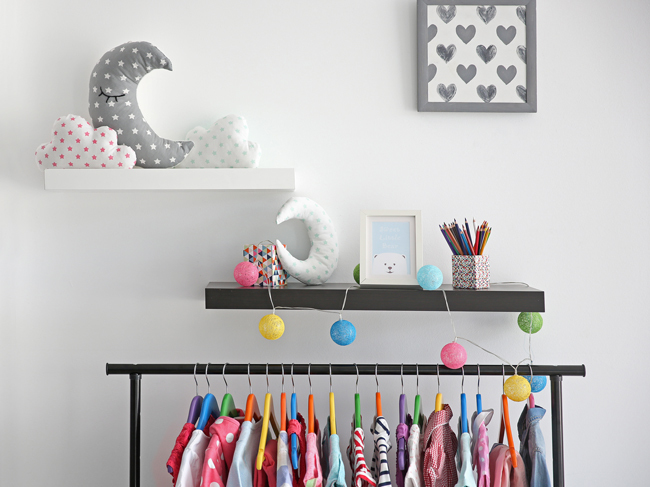
Install some floating shelves by fixing them to the wall with a Drill Driver . Be sure to fill them with ‘baby things’, and not your old sporting trophies. If your walls are brick, a Hammer Drill is a better tool choice.

New babies need sleep (and so do new parents). Sunlight can be your enemy so hang new black-out blinds quickly with a Drill Driver . While you have the ladder out, change that old light fitting and globe for something a lot cuter.

Get creative and make a mobile to entertain the baby while you tip-toe back to bed to get some sleep at 3am. Use a Glue Gun to attach all the bits and pieces. If it’s heavy, make sure you secure it to timber in the ceiling using your Drill Driver . PS: A Glue Gun is also great for mending broken toys when baby becomes a toddler.

No baby’s room would be complete without a mural of some sort on a window-less wall. Smooth out the bubbles in large vinyl decals with a Heat Gun . The good news is, the Heat Gun will help you remove the butterflies, rainbows and unicorns in a few years’ time when they become ‘embarrassing’ to the bedroom’s occupant.
Feeling creative but lacking ideas? We’ve got you covered! Watch our videos and follow the step-by-step instructions to unleash your creativity.
.png?w=100&v=6c04e2a3-04b9-449c-97a0-86f8df82dcb1&itok=D7d8Umfz)

.png?w=100&v=07272864-2df4-45f0-aa93-568aa3920466&itok=Lj7SSICT)

.png?w=100&v=4297d0f7-8d6a-4632-bff2-7c593a97d3cb&itok=fnsLcLhG)


.png?w=100&v=6fe76245-ac4a-4aa3-986d-04347f143028&itok=dFif4A99)


.jpg?crop=yes&k=c&w=690&h=690&v=49dc01ac-5a59-462f-a71b-b7bf68d6570d&itok=Rykxbq4a)


.png?crop=yes&k=c&w=690&h=690&v=4e3b898f-7e35-4b56-bd9f-b726b2527252&itok=4yNQ7_LC)


.png?crop=yes&k=c&w=690&h=690&v=cb99dbdc-8ba6-4cd0-9855-ba0df9cd733a&itok=2LvRkXnC)


